Showing posts with label refashion. Show all posts

Wednesday, July 7, 2010

*Shrug*

I was looking at this wonderful website: Make it and Love it

And saw this adorable shrug:
 Click on the pic for the full tutorial

And I thought "Why don't I do that with one of my shirts?"

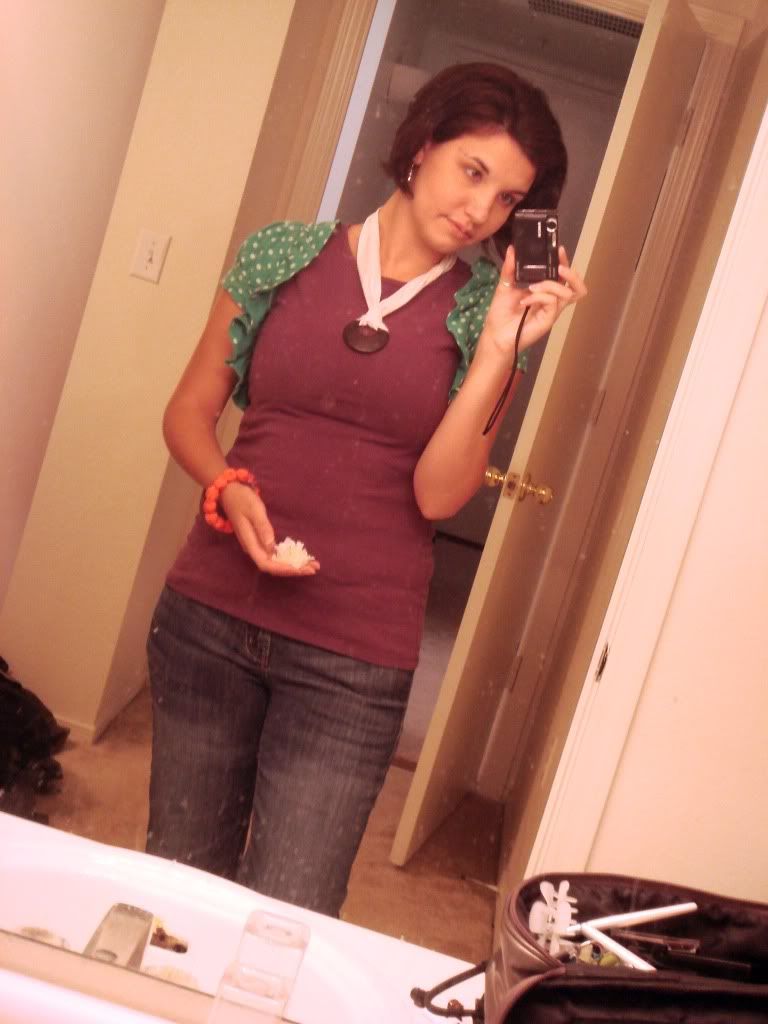
So I did.


Sorry for the spotty-mirror-messy-bath deal, but I thought it would...umm...add character. Right? ;)

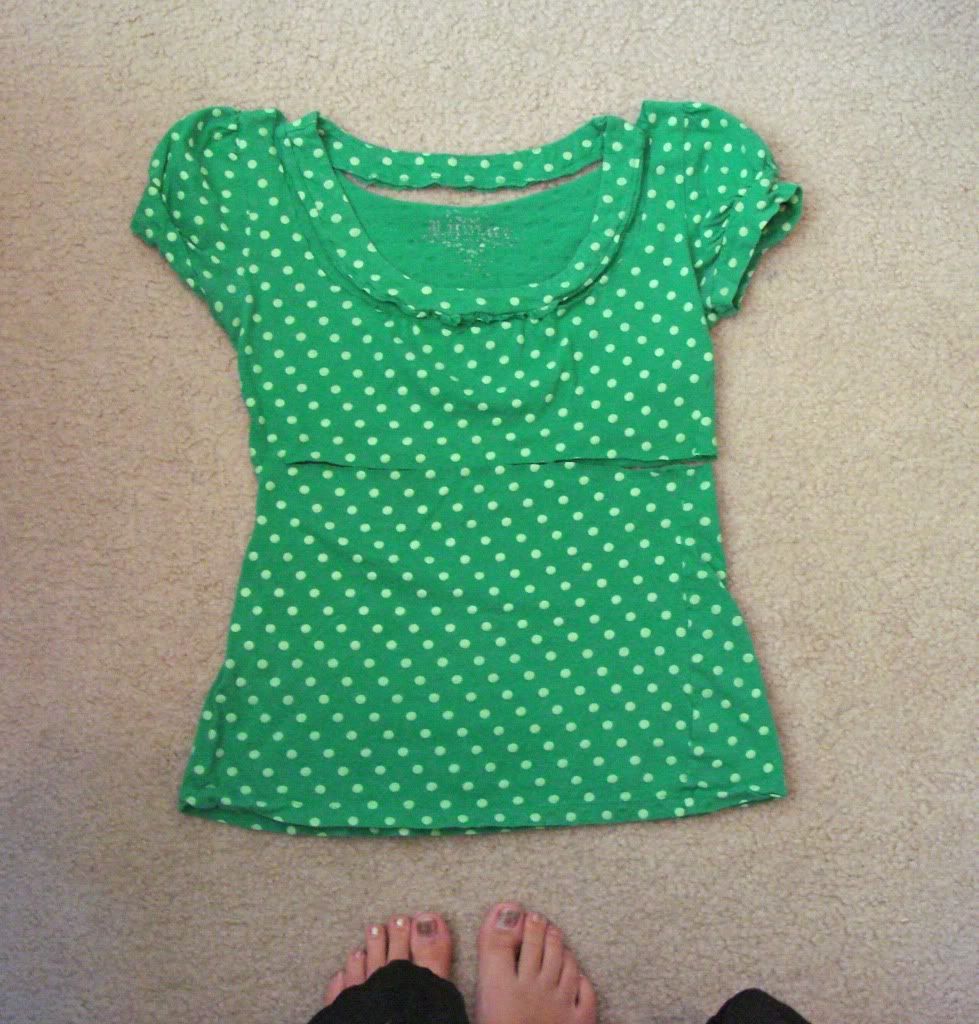
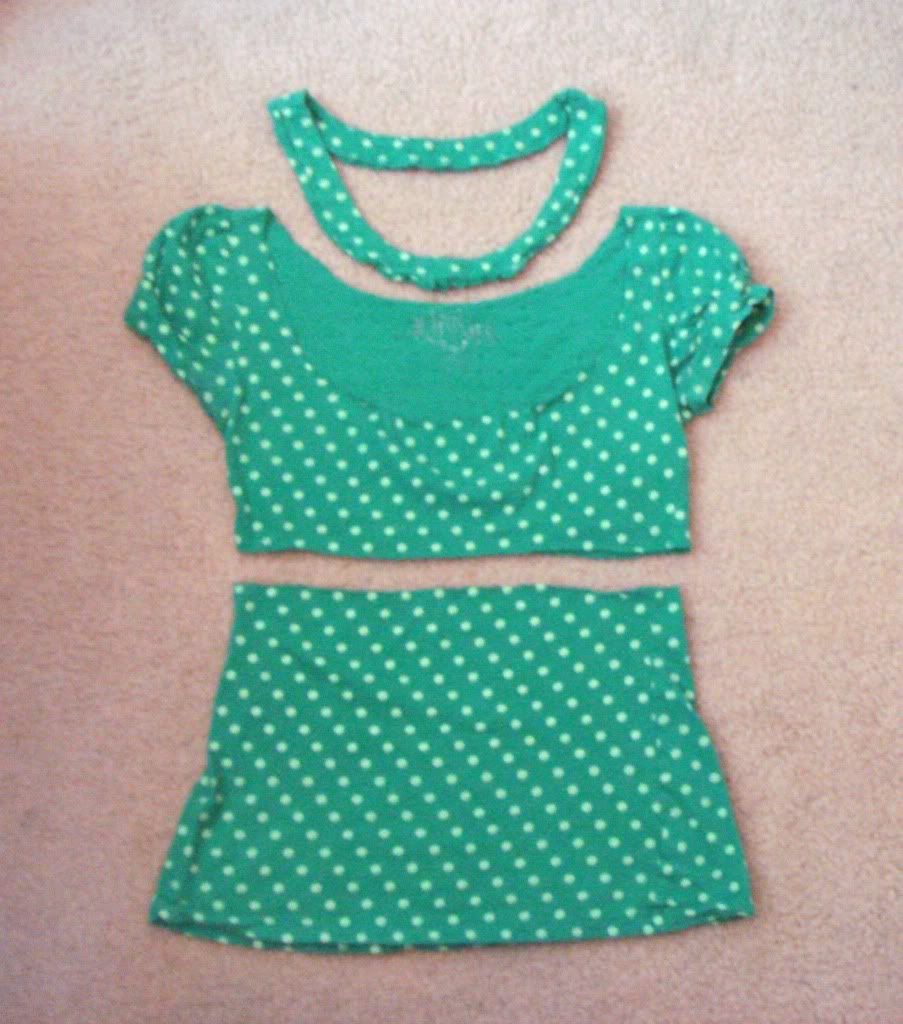
Anyway, I took this shirt. Sorry, I don't have a pic of it before I cut it up.


Cut it up/made ruffles out of the bottom half/added to top...done.
Okay, there's a bit more than that, but click on the full tutorial above to really know how to do it. Ashley explains it so well, we'll just leave that up to her :) Thanks for the tutorial Ashley, I love my new shrug!
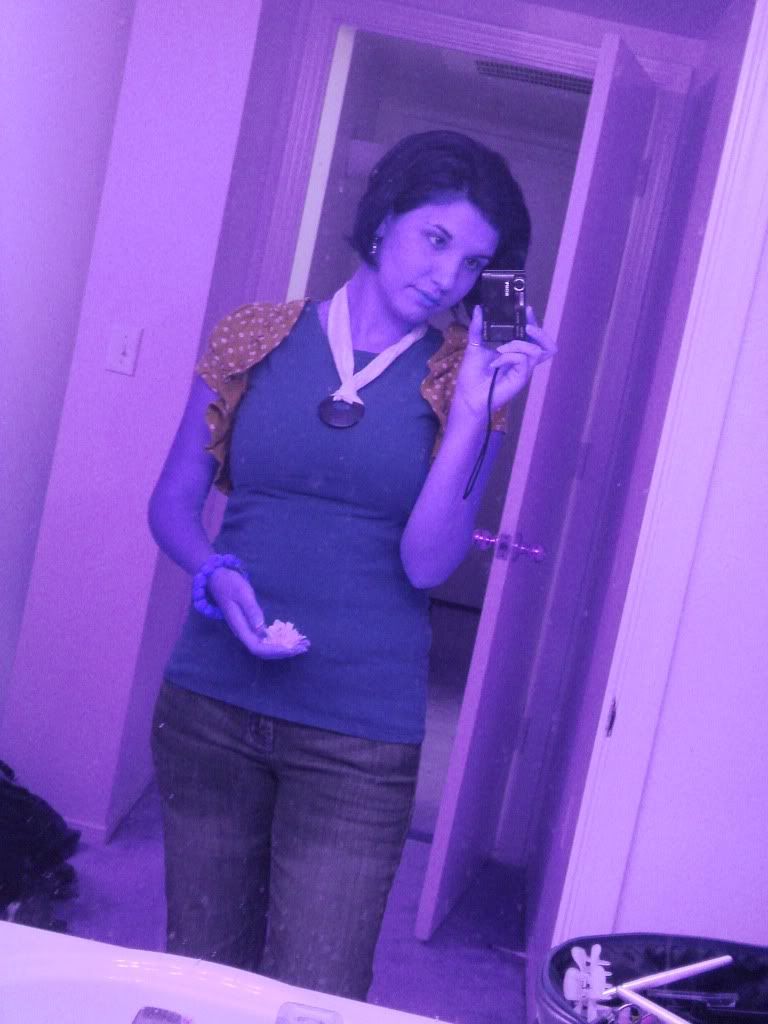
Have you ever wondered why we don't live in a purple world? Looks like fun, huh?

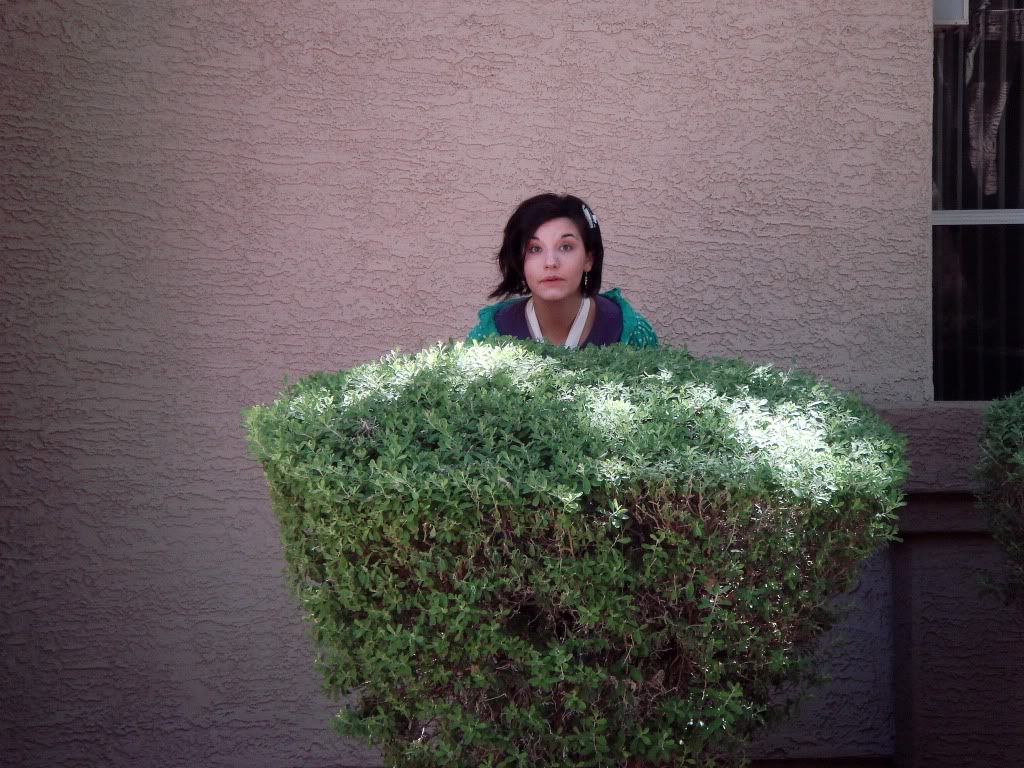
Peek-a-boo

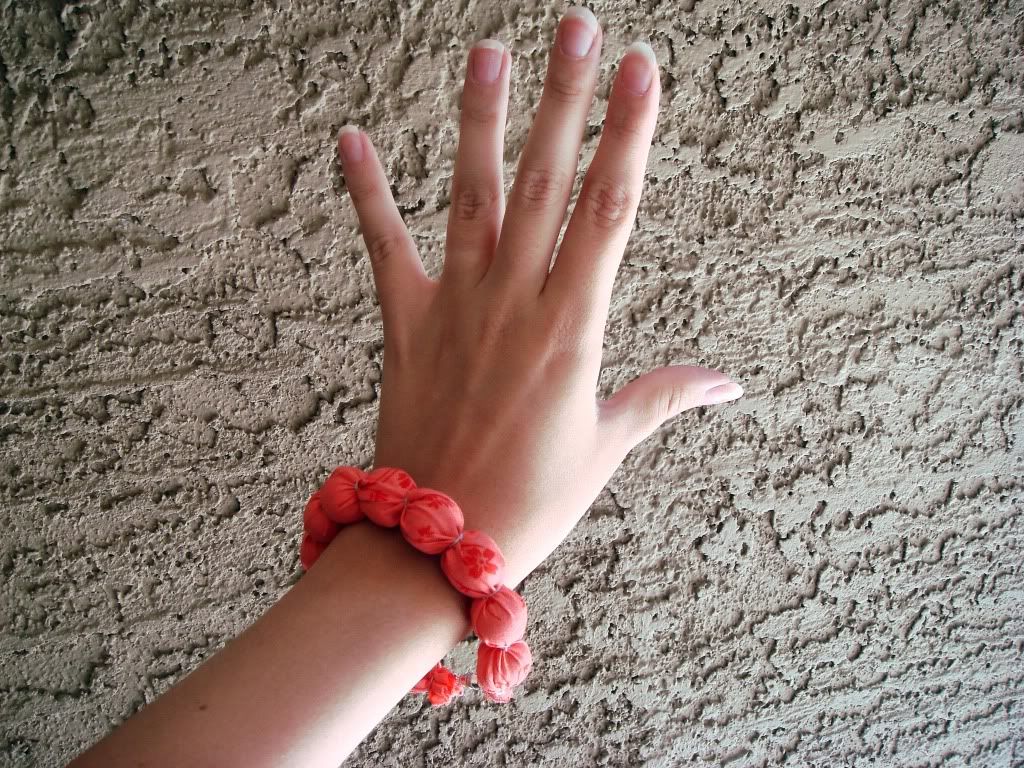
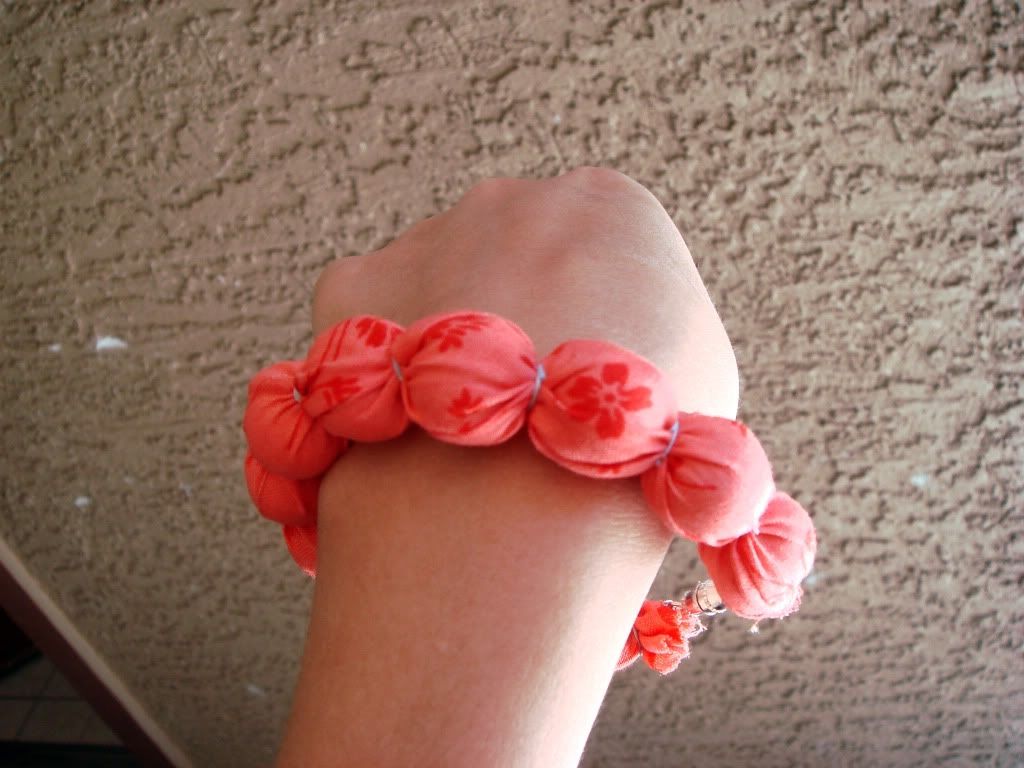
Also, did I mention that I got the COOLEST gift from the "Christmas in July, Gift Exchange" from over at Craftaholics Anonymous. It came from Jessica in Georgia! Check it out.

What cute fabric! I've been trying to find outfits to match it all week so that I can wear it everyday :) Thanks Jess! 
The gift exchange was so fun! I got to send a little gift to a lovely lady in St. Louis. I totally wanna do it again next year.

Monday, April 19, 2010

A little su'mm su'mm

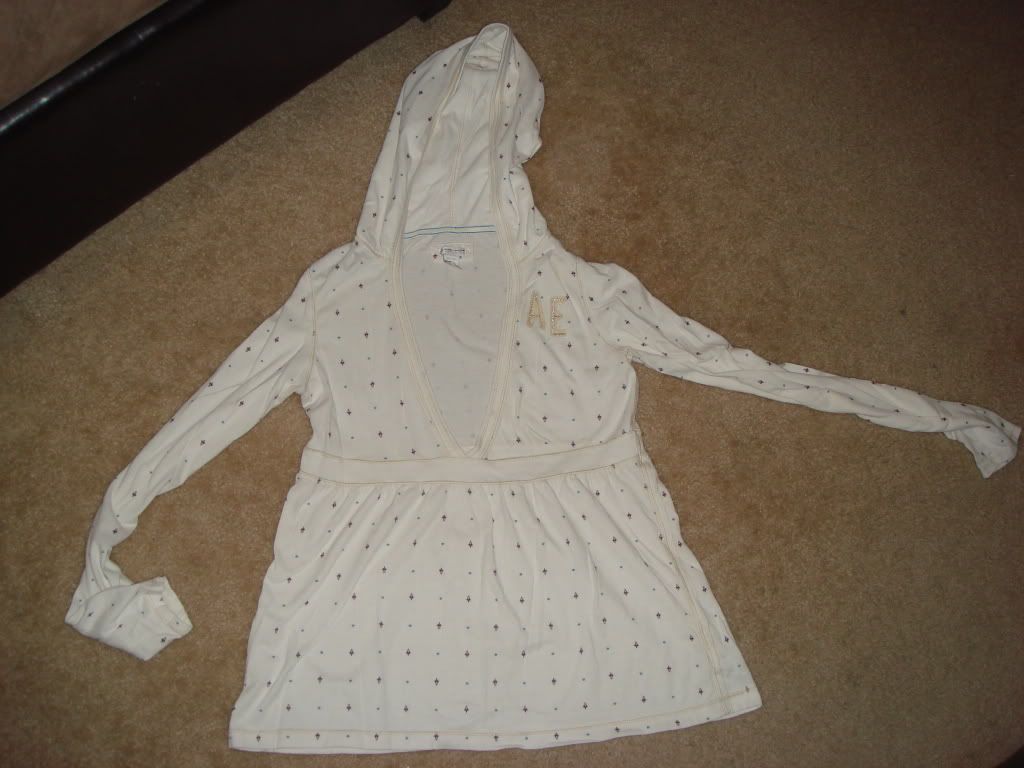
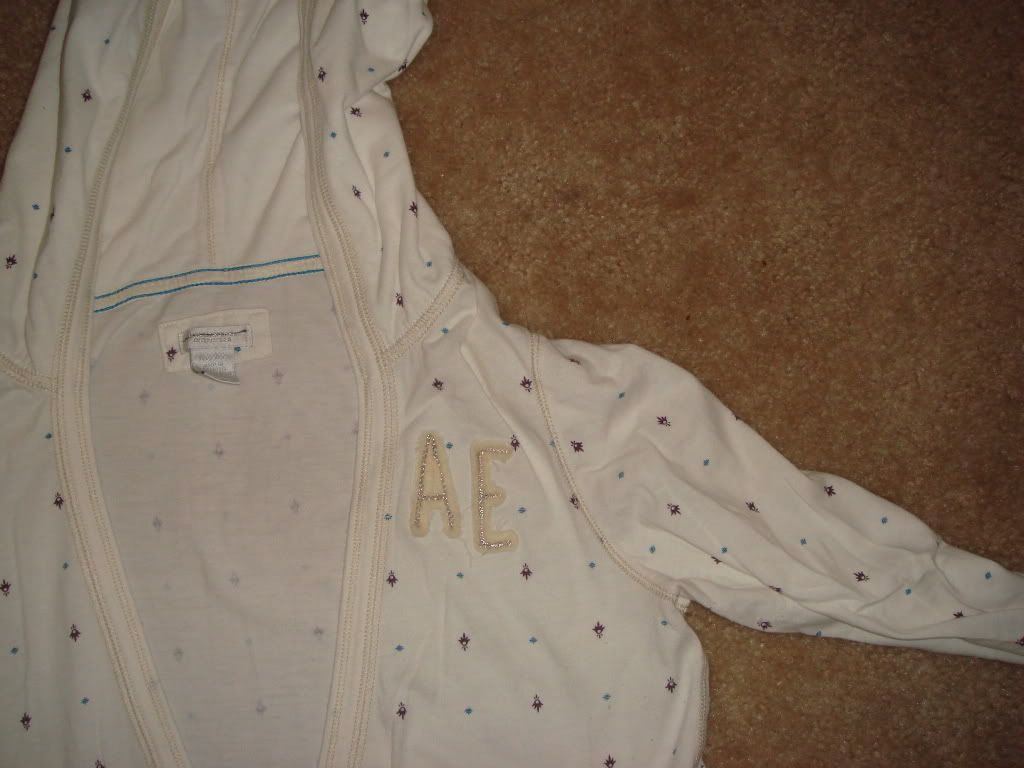
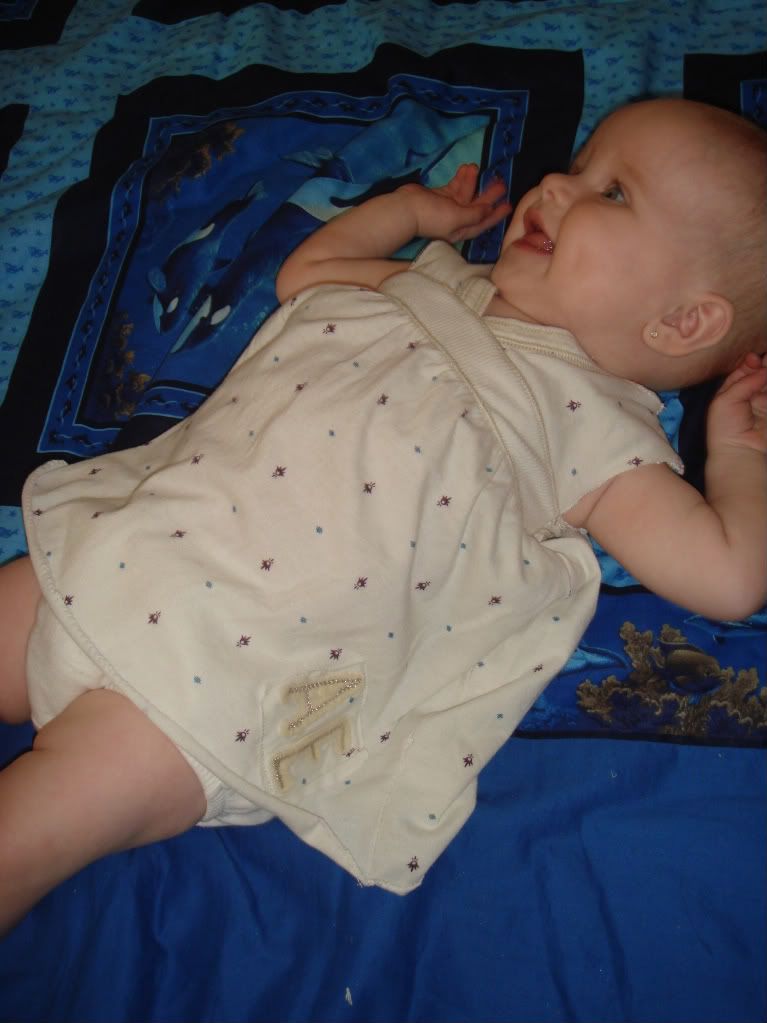
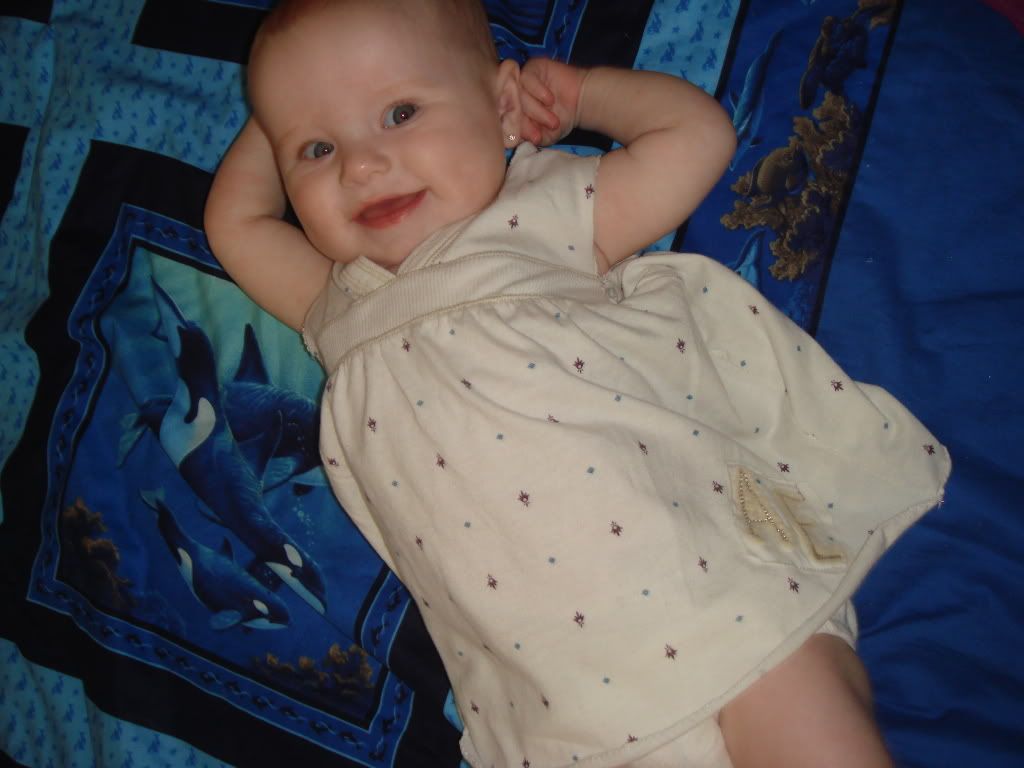
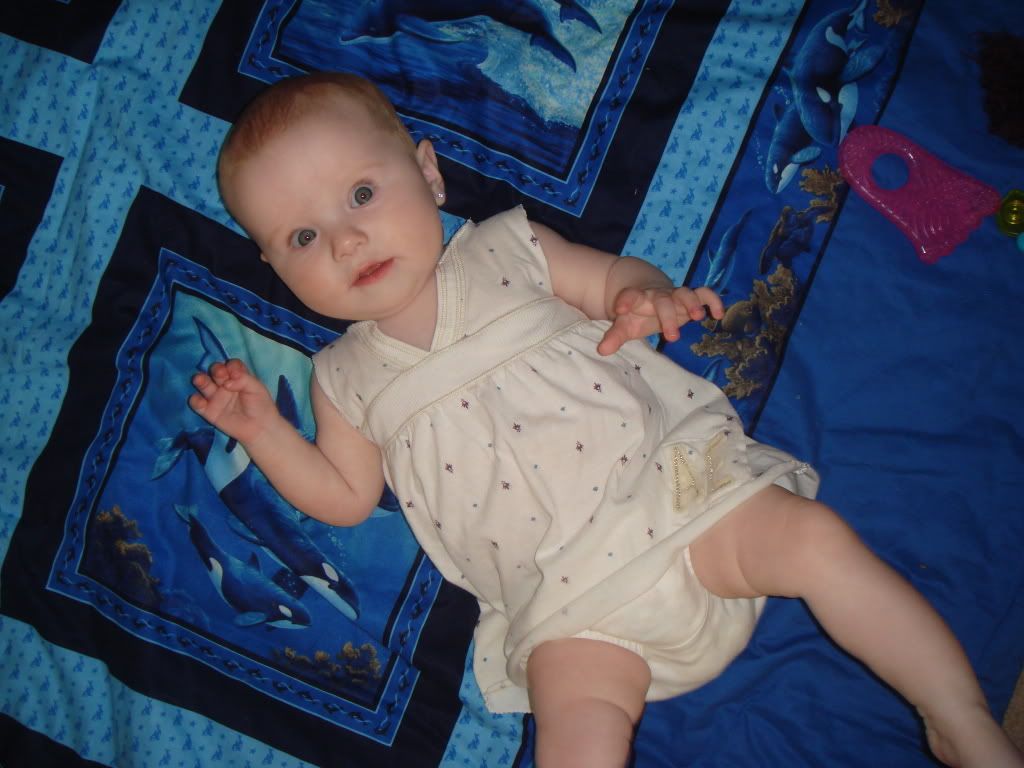
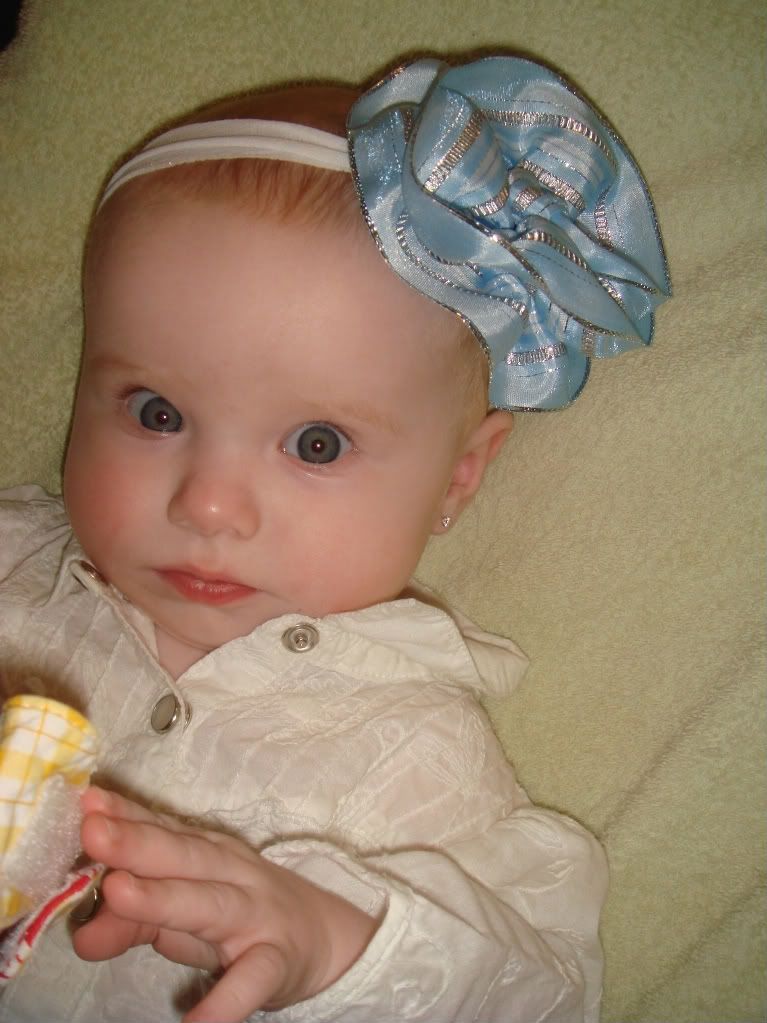
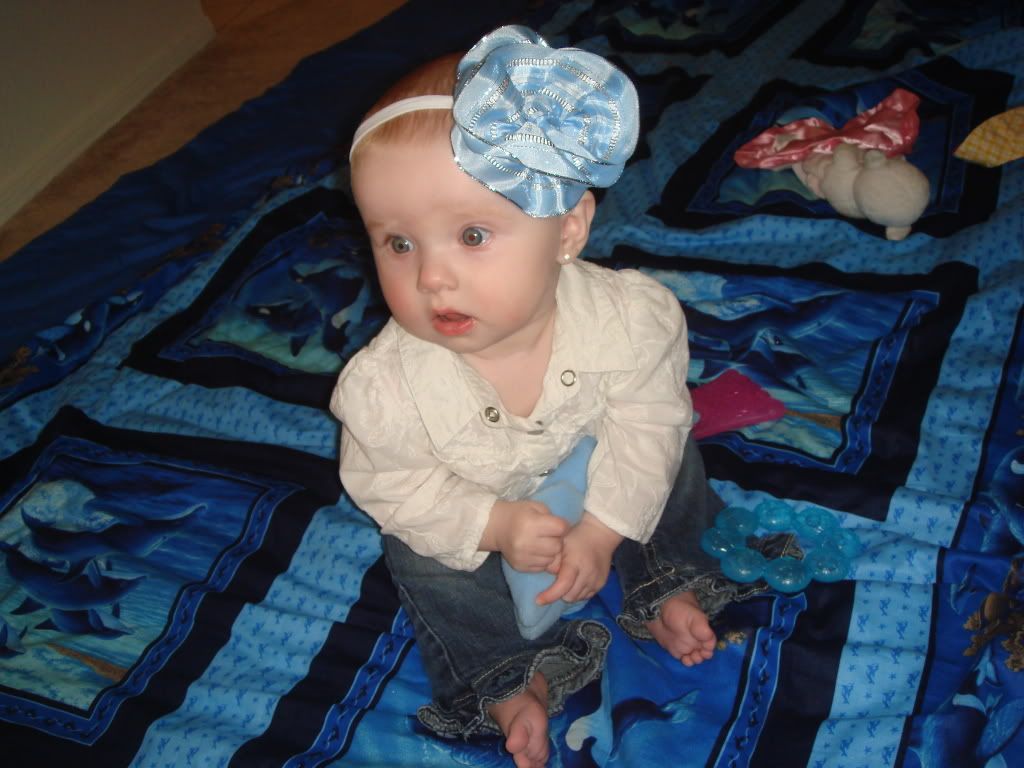
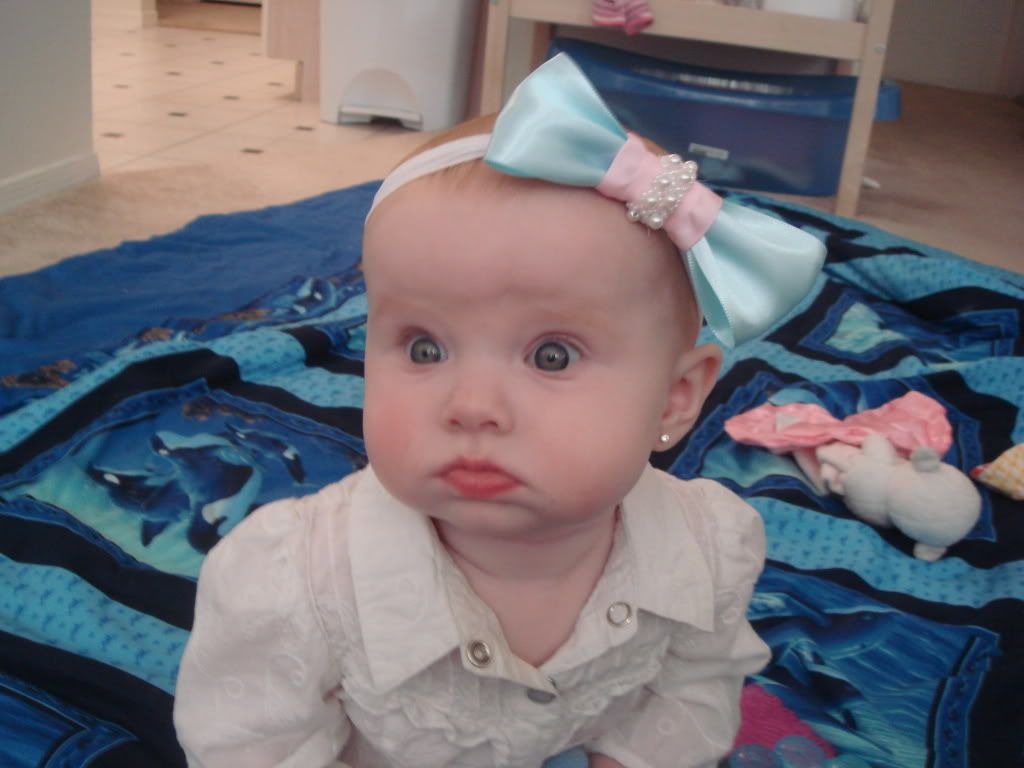
I know I said I'd be gone 'till the end of April, but guess what happened? The blogging pressure was gone, and I got board! So, I made baby girl a new little summer dress from an old AE shirt of mine, and some bows and headband 'cause she tore apart her last ones with her new, sharp little tooth! Silly baby.

So, here's what I've been up to:


I used a dress she already has, and used it as a pattern to cut this one out. Then I cut out the AE logo and patched it on. It's not yet sewn together in this picture though.


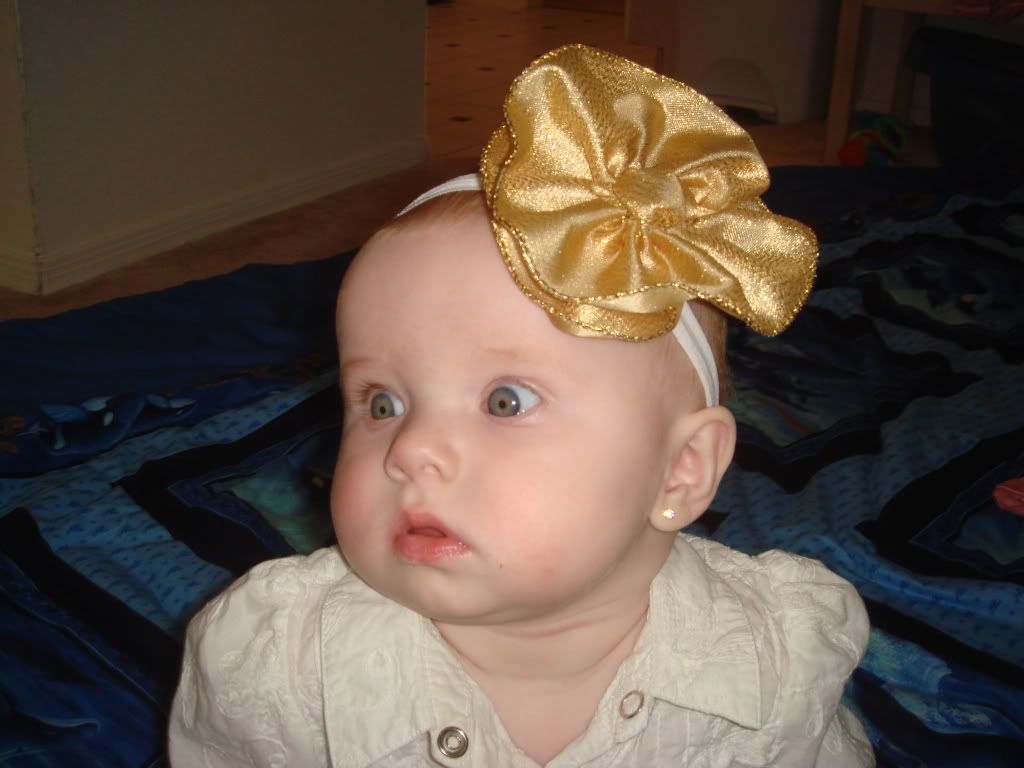
Here are the bows I made yesterday too.


I know she looks kinda funny in these pics, but she was watching Baby Einstein and wouldn't look away. Hey, at least she was staying still, right? I think she really looks like a little model in the first one. Cute girl.
What was so funny was that after I took these pictures she was rolling around, and I found her blue bow on the floor. She had crumpled it all up and guess what? It looked so cute! Here it is after.


So, I did the same with the gold one too. :)

Did you know that Hobby Lobby sells these bags called "Ribbon Sachet" and it has 2 yards of 30 different strips of ribbons, all different colors and styles?? I had no idea! I was just looking for ribbon and I found these bags hidden at the very bottom.

Then I went to that little random ends section that has trimmings on sale, and I got 2 bags for $2 each that had lots of really different kinds of trim in there, and ribbon too. It's so great 'cause I don't need a whole lot of one kind, and some of the trims can be really expensive, even for a little bit. This way I get lots of different kinds for really cheap! If you can't tell, I was pretty excited. :) But the gold and blue ones above were made with wired ribbon that was from a post-Christmas sale. Sweet!

But I really am leaving on Wednesday, so I'm not sure when I'll be posting again :)
Have a wonderful week!

Linking up to:


Saturday, March 27, 2010

A Little Refashion

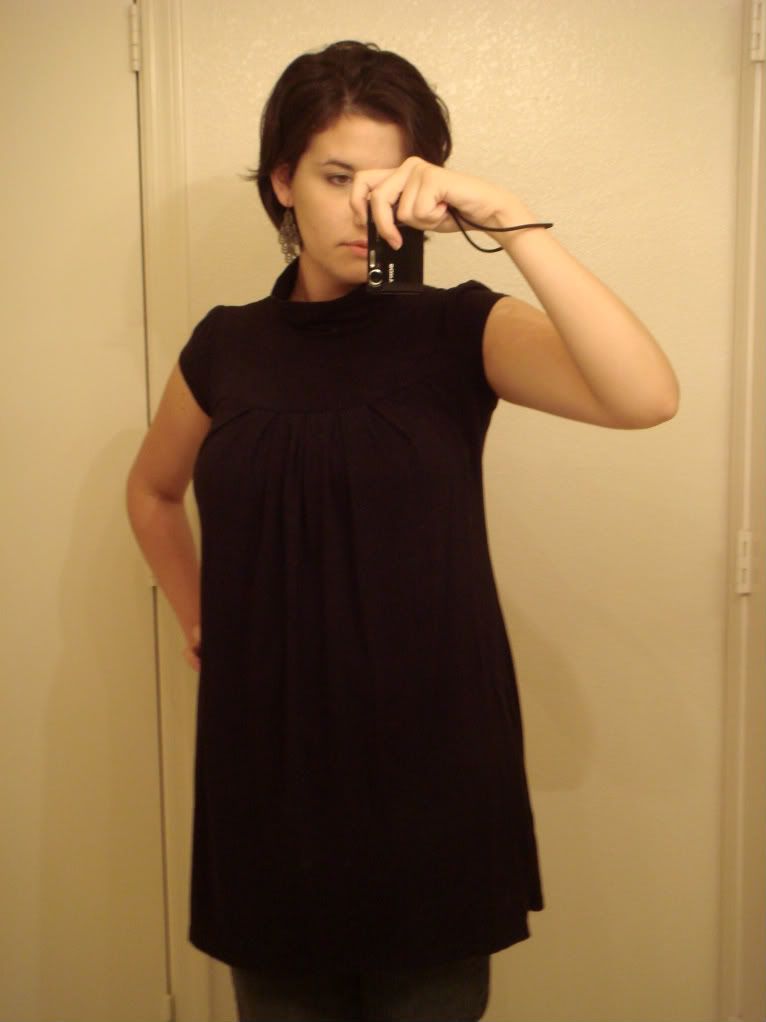
This is the original shirt I bought last year, just after I got pregnant. Even though it's not a maternity shirt.

 *Apparently my 'startup disk' is full and it won't let me use Photoshop. What a sad day! So, I couldn't fix any of my photos, so forgive the bad coloring and imperfections.*

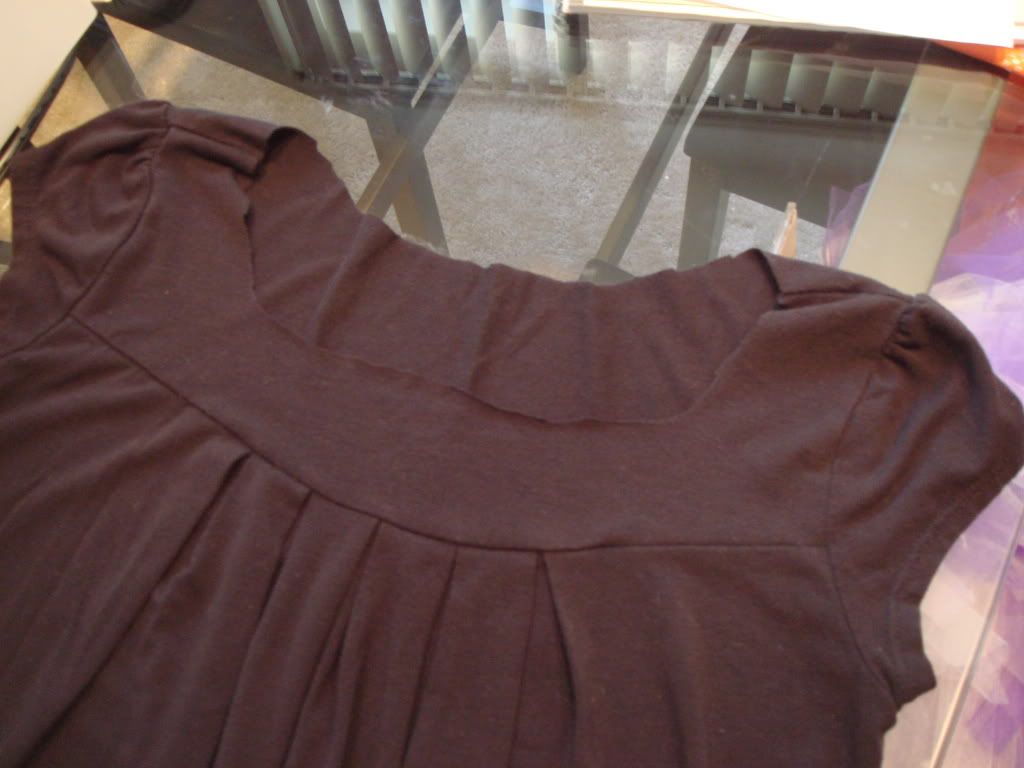
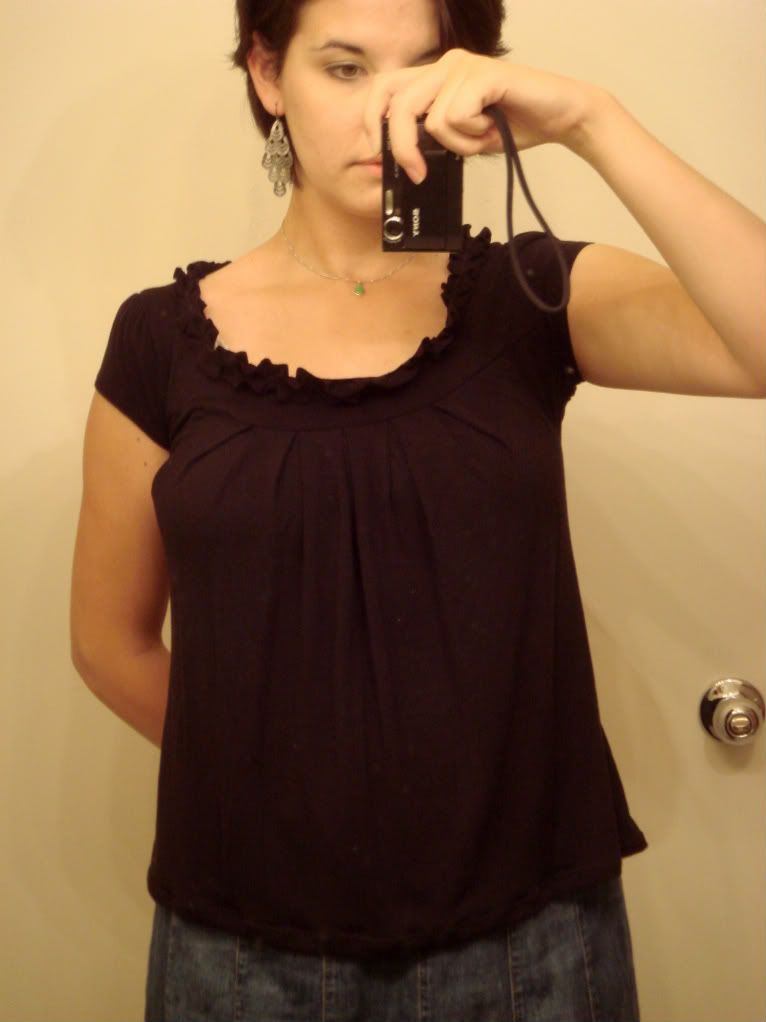
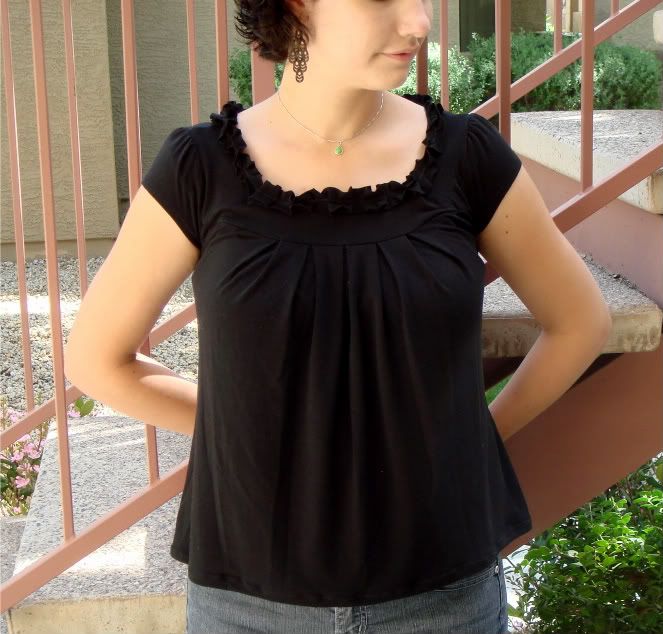
I wasn't such a fan of the turtleneck after a while...or the length. So, I cut a round-square neck out, and took about a foot off the bottom.


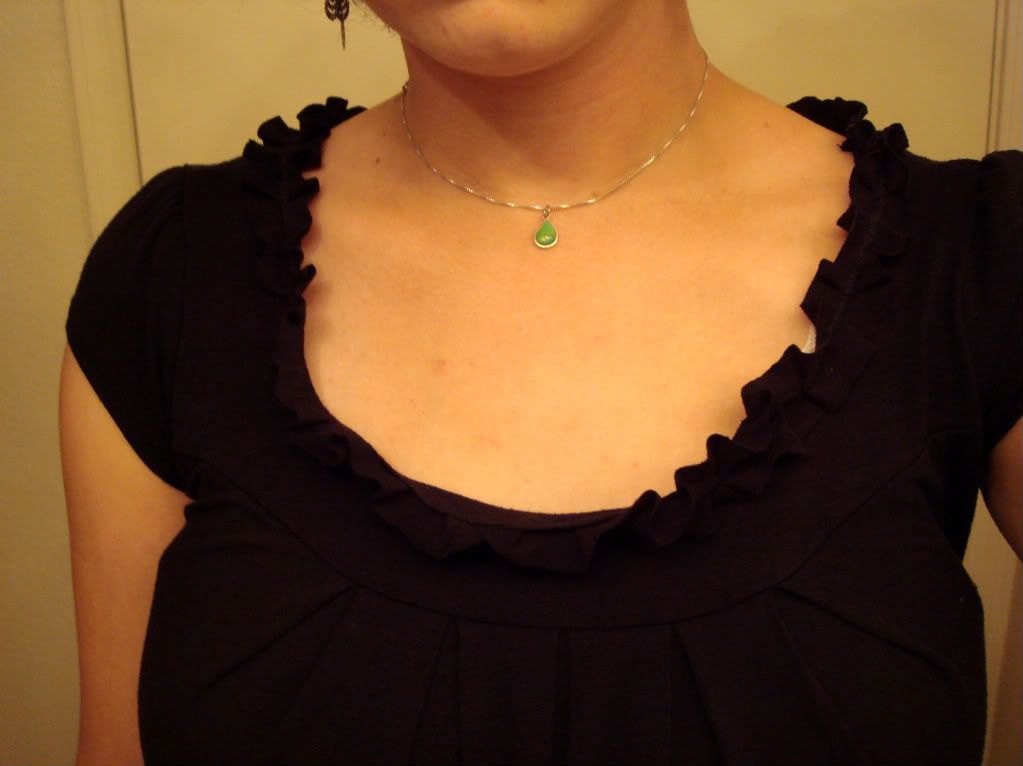
Then I pleated a long strip and attached it to the neckline. I forgot to take a close-up of it. But you can see a detailed one HERE that Disney used on her lampshade.


The neck ended up bigger than I planned, so I took it in, in the corners.


Still looks kinda maternity, so I think I'll take it in on the sides 'cause I love the front detail. But it's really comfortable! I'm pleased with it for now.


Linking up to:


Tuesday, February 9, 2010

Cargo Pants to Bag

For years now I have been building a collection of great jeans and pants. It's really hard to find a good pair of pants, but I have managed to fill a whole drawer full of them over time. Pretty much all of them were very good looking, and very well fitting. Then come the "Big-Mamacita-Birthing-Hips". I have been kicked out of all my pants. None of them fit me. Not a one. But that's okay, I'd much rather have a pretty little angel, than a drawer full of fun jeans. But that means that I have all these pants leftover.

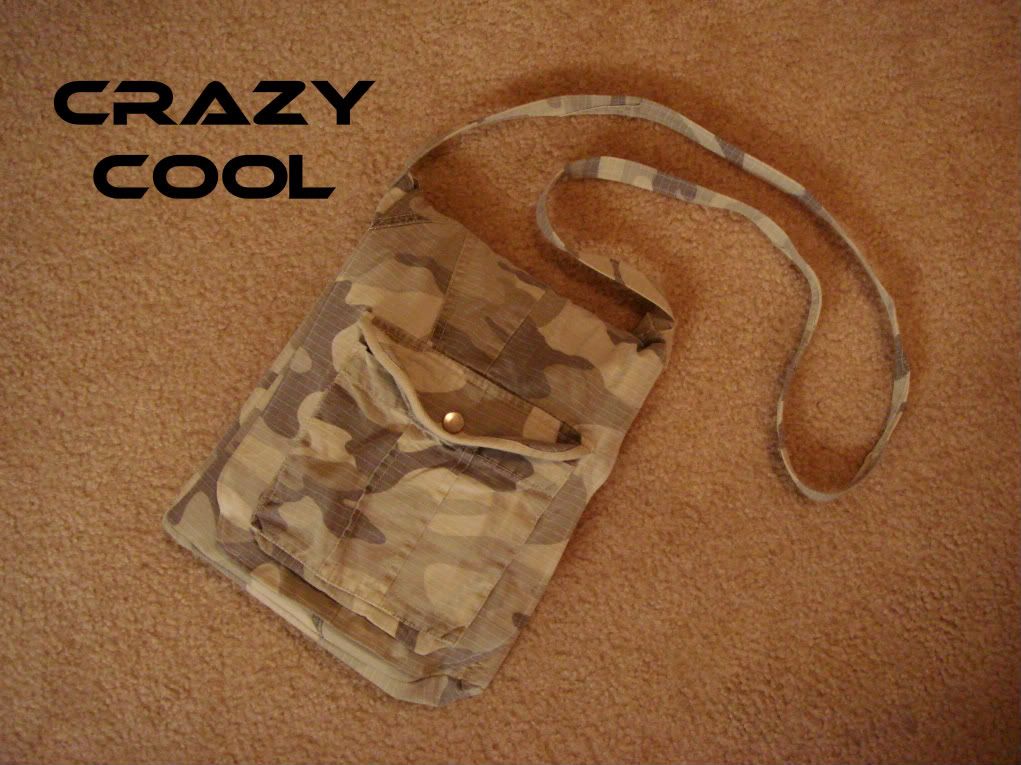
One of my favorite pairs were camo-cargo pants. I felt so sassy and menacing in those. But they are now the product of a fab refashioning! I used Noodlehead's Tutorial (Messenger bag from Cargo Pants) as a guideline. I used the same measurements, but I didn't add a lining like she did. First, because I didn't have any fabric on hand that I would've liked to use for lining, and second, because...I like to keep it as easy as possible. Haha! And here's the result:


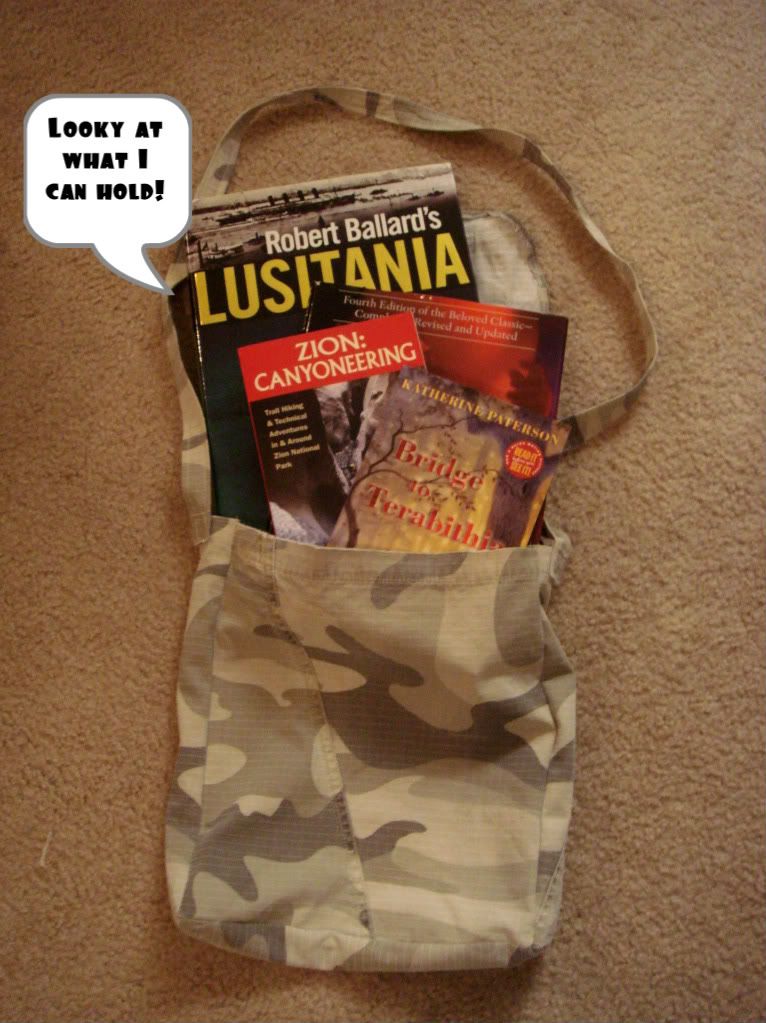
Turns out that Photobucket has all sorts of features to add fun effects to your pictures! And good thing too, 'cause my laptop is "out of order" since the charger cord busted, and I didn't wanna have to use the old Photoshop version on my hubby's computer. So, you get to witness the product of my playing around with their new tools.


Just random books from the shelf. But I do highly recommend the first two in front! One for great hikes and adventures in Zion National Park (my fav!), and the other for a good story (you'll need a box of kleenex though).

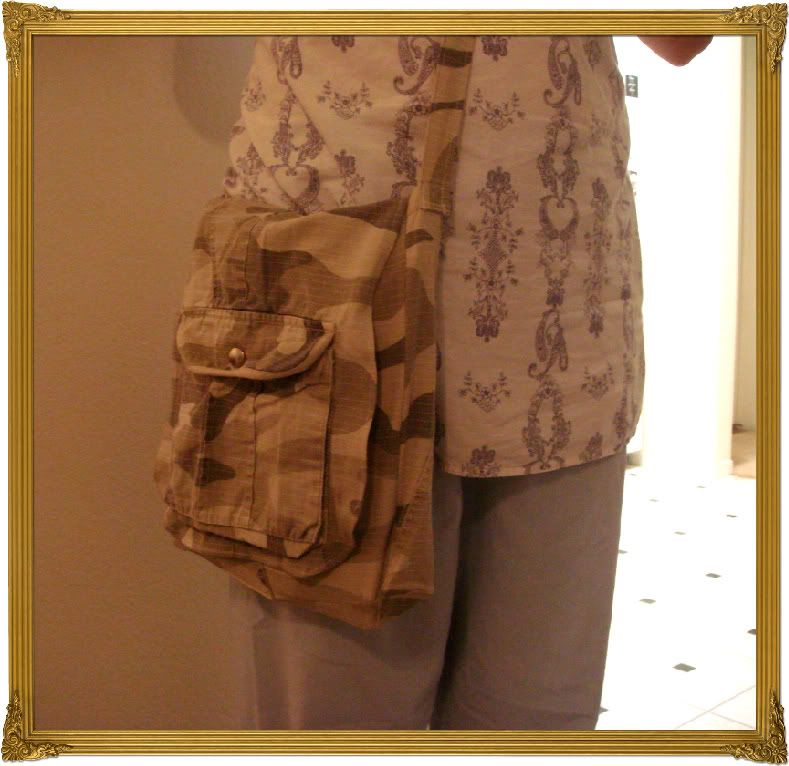
Fun frame, huh? Probably be even better spray painted black. Or Heirloom White, with a nice brown glaze, and some distressing?? Huh?
And yes, I'm...uh...in my pj's. I couldn't wait to get this posted, so there you have it! I have to tell you though, I do love me some PJ's. I think 1/3 of my dresser is devoted to comfy nightwear. I love 'em!
So, I was planning on giving this bag away to one of the boys in my family, but I'm so in love, I think I'm gonna keep it. ;)

~Crystal

Monday, February 1, 2010

Fashion Forward- Cuffs and Collar

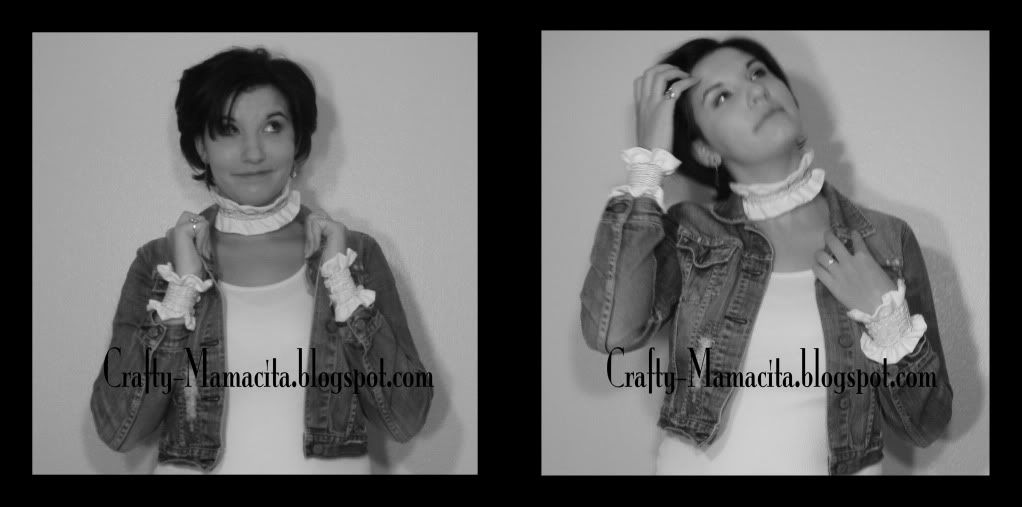
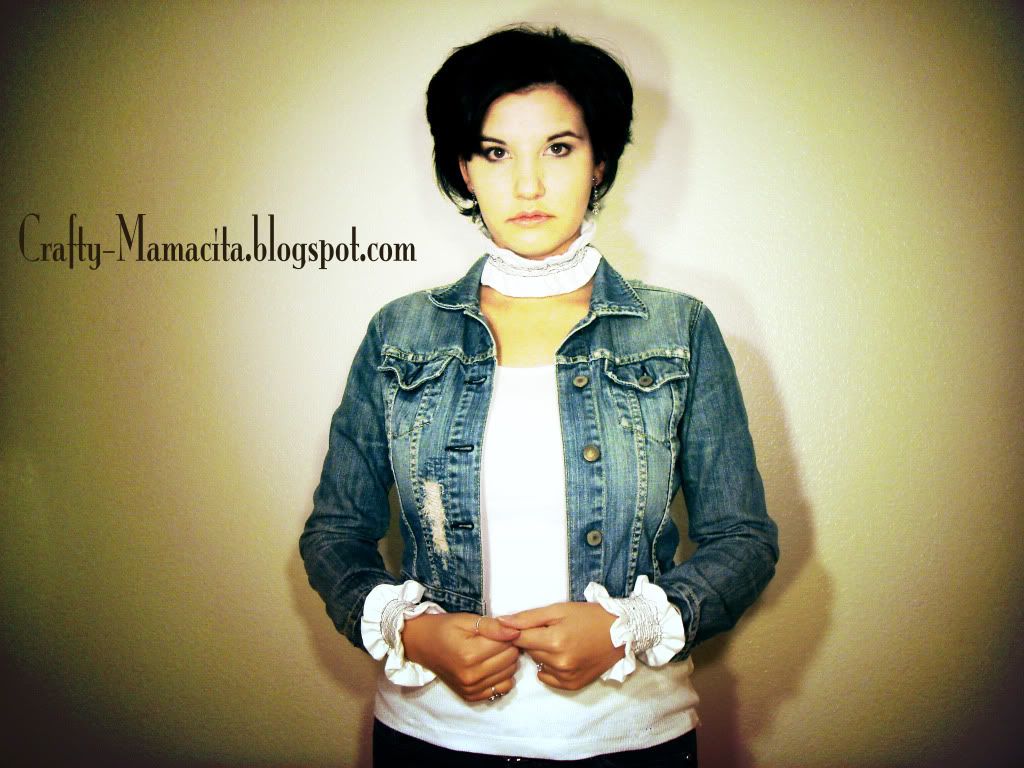
I'm so excited about my first tutorial today. It was inspired by Disney over at Ruffles and Stuff, and the cuffs and collar that she made, but mine are a little different....and maybe a little bit fashion forward. Sounds intense right? But it's really not. So, here we go. 

This is how they turned out. You like?
I think I was getting a little too serious during our fun little photo shoot. ;)

To start I took: 
* Scraps of white linen fabric
* 5 white buttons (small)
* White thread, and black thread

Yep, that's it.

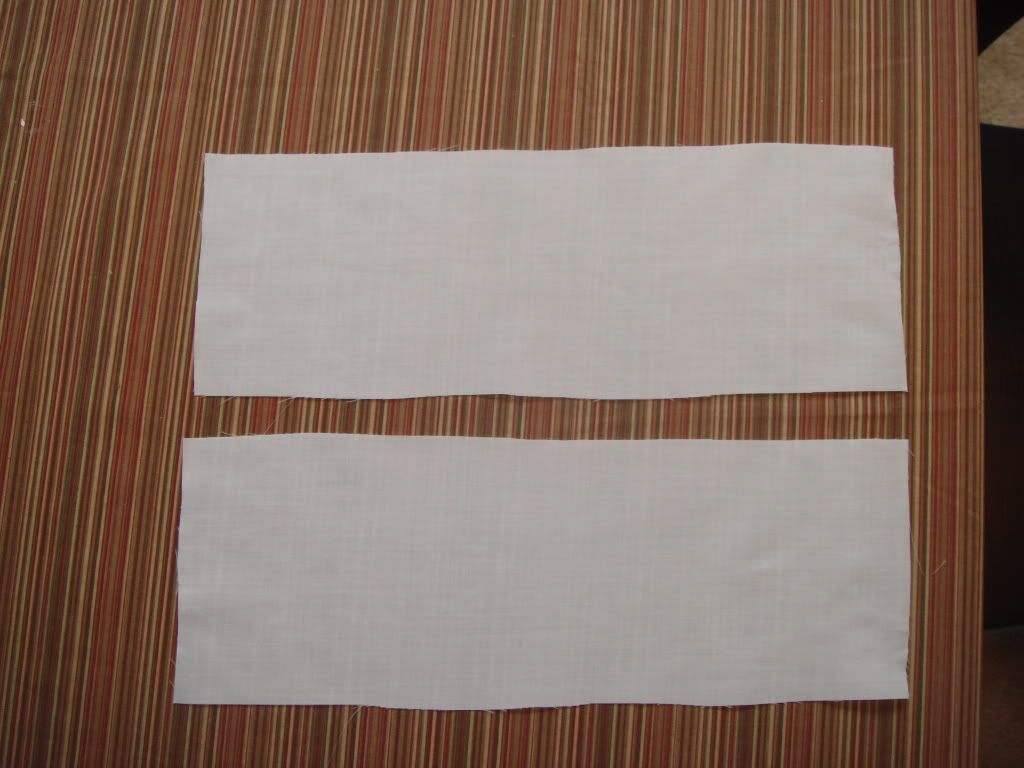
First I cut two pieces that were 4.5'' x 14''
(allowing for 1/2'' seam allowance)
(Two pieces are for one cuff only. You'll actually want 4 pieces total for two cuffs)


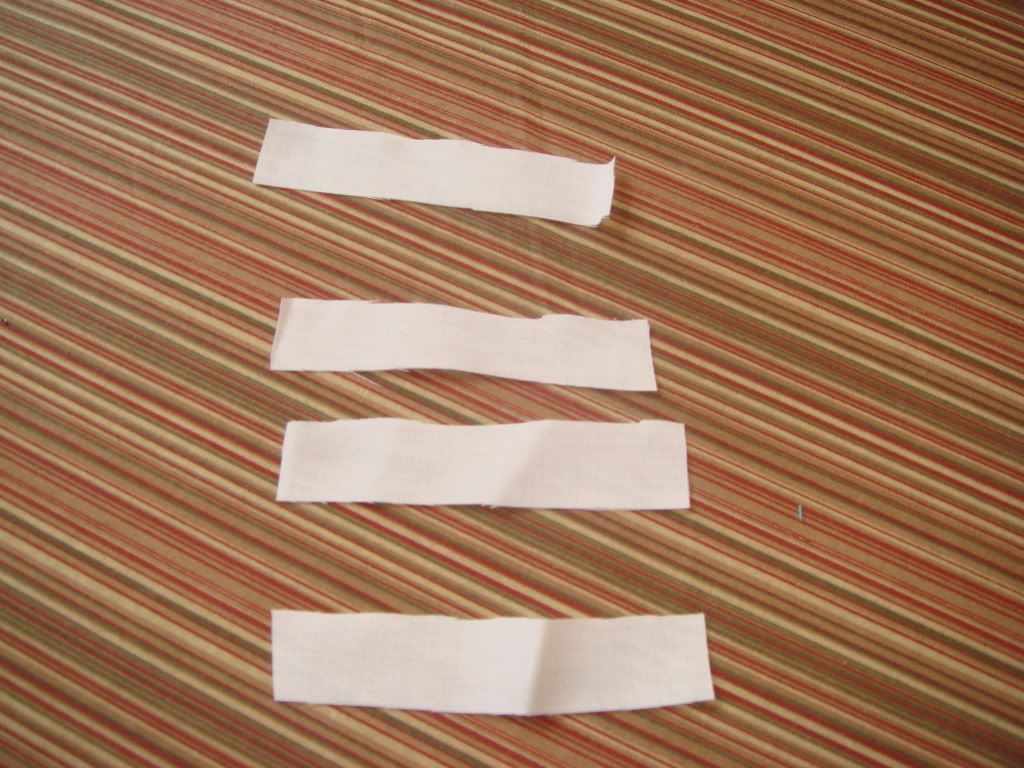
Then I cut 4 strips 2'' x 1/2''
Two strips per cuff, so you need four total, then one more for the collar. 
These will be the loopies for your button to go through.


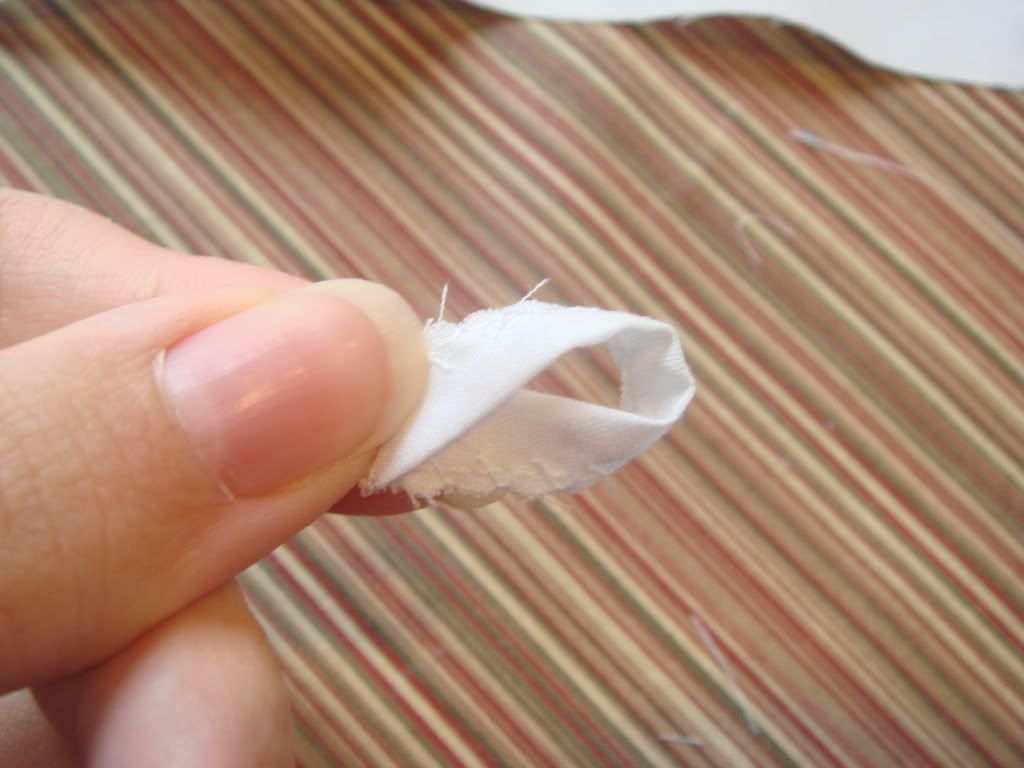
Then I folded each strip in half lengthwise and sewed a straight stitch close to the open edge. 
I went over the edge again with a zigzag stitch.
I left it with the slightly frayed look, 'cause that's what I was going for.


I folded it with the frayed/zigzag side facing out, just like so.
*Side-note: please forgive the horrible tablecloth, we got it when we first got married and we never use it, but it's waterproof so it's now my crafting tablecloth. Joy!*


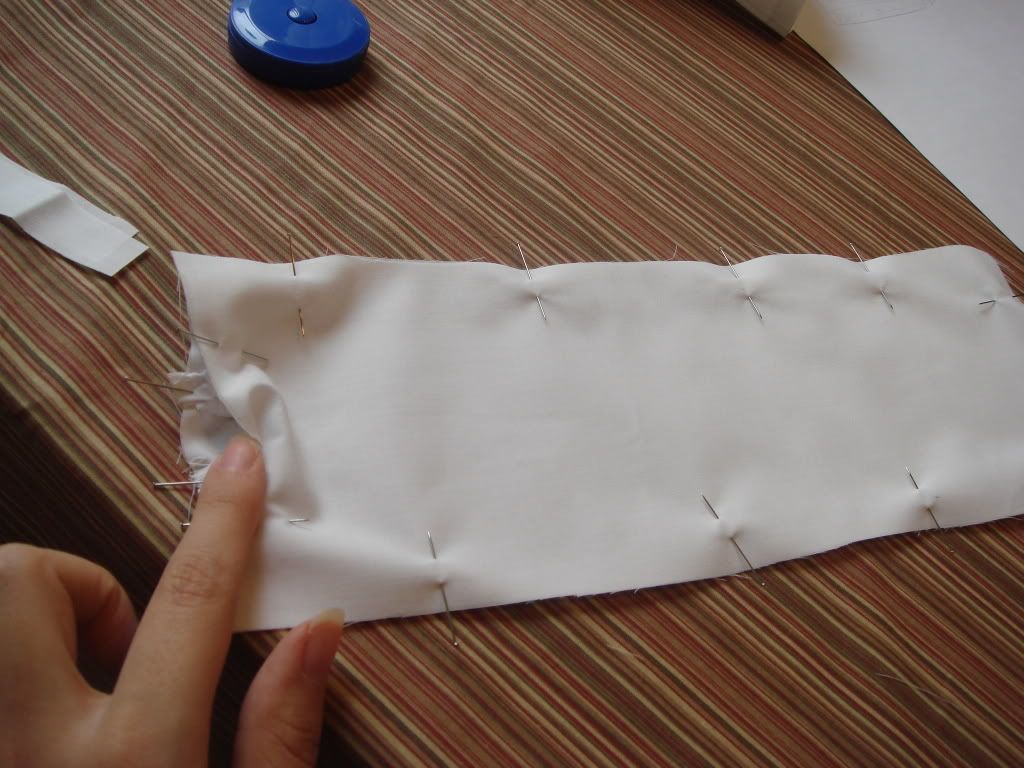
I then pinned my little 'loopies' to the end of the fabric at 1'' down from each long side, facing inward.


I placed the other piece of fabric on top of that one with the 'loopies', and pinned it.


I stitched nearly all the way around, I left a little opening to fold it inside-out...or would it be rightside-out? You know what I mean, right.
Then I hand-stitched the small opening I left open, closed.


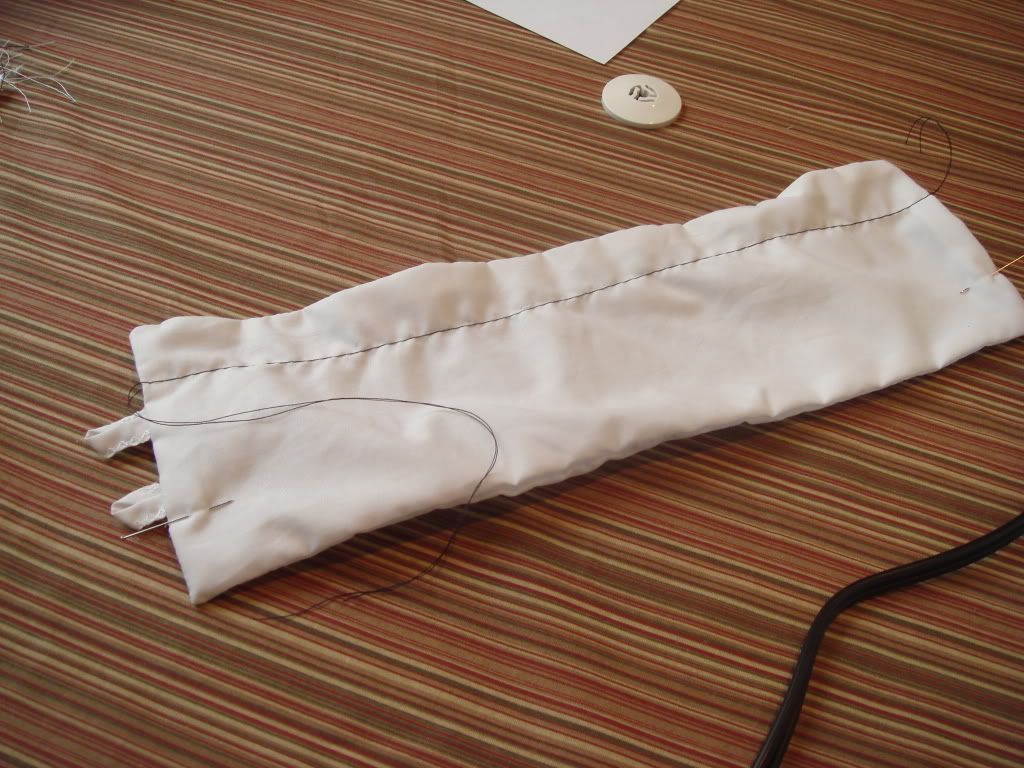
Here's where I switched to my black thread. I loosened the thread tension a little, and took the stitch length all the way up. I sewed a line just above the first 'loopy', at 1'' down.
Then I did the same just below the lower 'loopy', and ruffled it! I kept putting it around my wrist to make sure it wasn't too short. Better too long, then too short. Once it was a good size I tied off my 'ruffle strings' and trimmed 'em.


Here was the fun part for me!
I tried out my 'free motion foot' for the first time! Did I mention this is a new sewing machine? And that I LOVE it?! Singer Quilter's Confidence, in case you're interested.
I tightened the tension a little tighter than the 'Auto' it's normally on. 
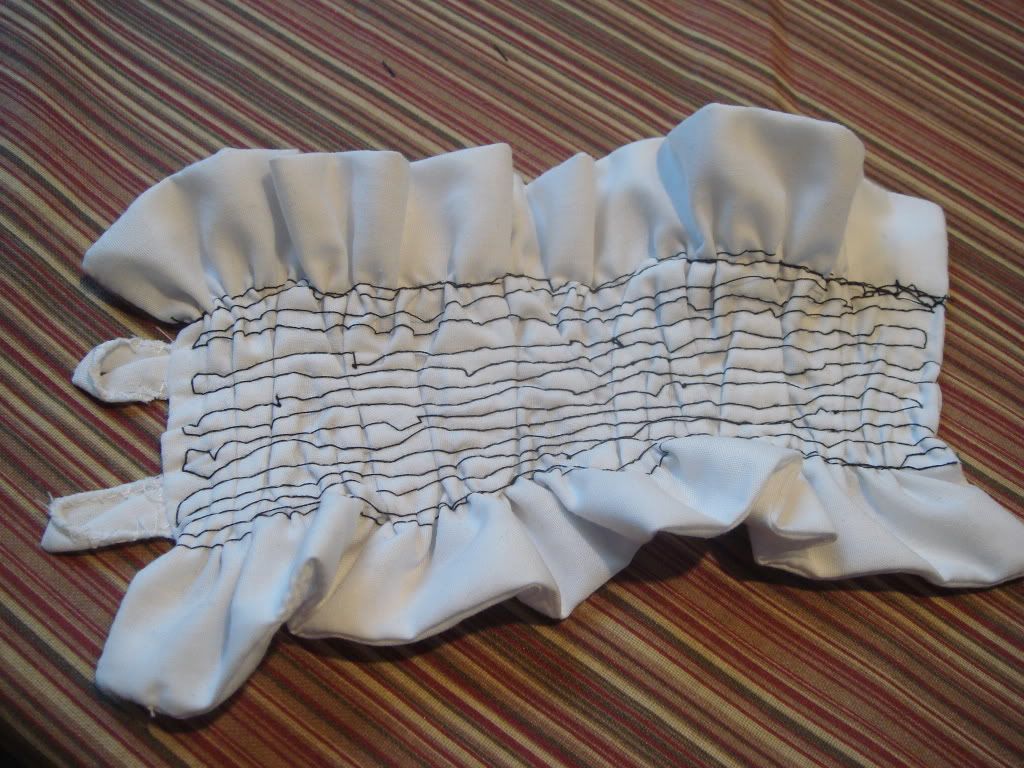
Then I went to work going back in forth (with the black thread still), in a carefree kinda way, with the feed-dog down. I wanted it to have a slightly...umm..what's the word? Rogue-ish look?
You don't have to have this foot to get this look, just use your regular presser foot and pivot at each end.


Here's after going back and forth in my 'free motion fashion'. 
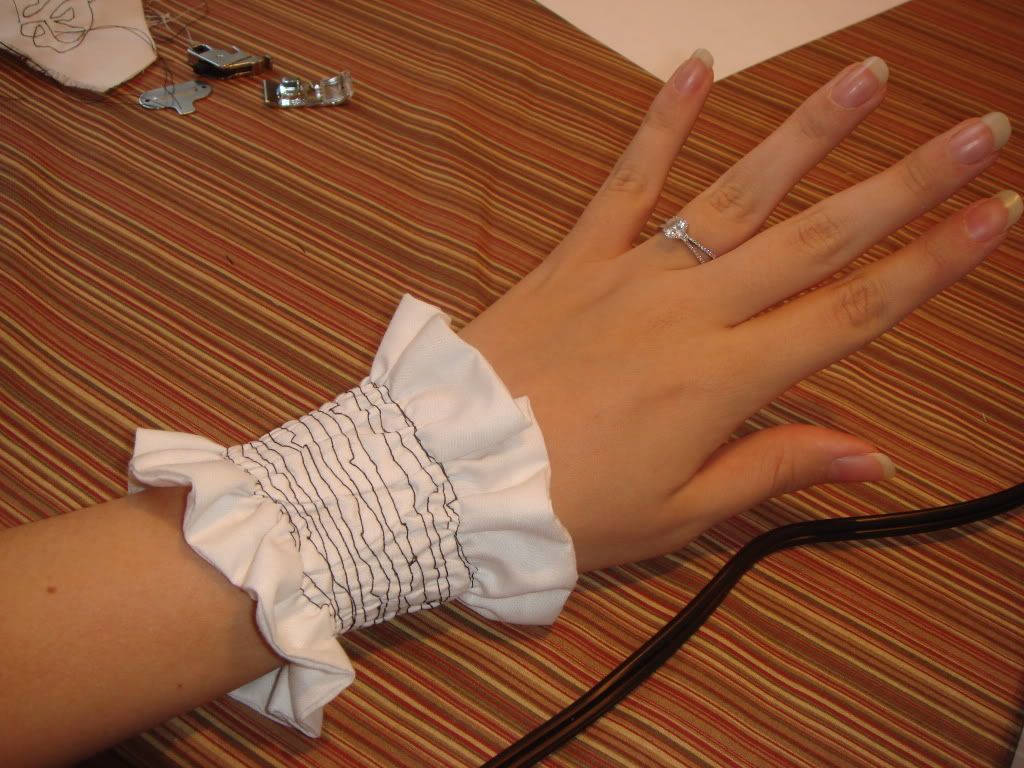
I know it doesn't look like anything super special, but like most great accessories you gotta put them on to get the whole effect, right?
Oh, and add both the buttons to the opposite end of the 'loopies'. If it's too long, just move the buttons back a bit.


Ooooh, I L.O.V.E. IT!


I then proceeded to make the second cuff, and a collar that was 14'' x 3 1/2'' (with 1/4'' seam allowance), with one 'loopy' and one button. Go off your own measurements though if you plan to make any. I have unusually small wrists. And I barely had any ruffle to my collar 'cause my scraps weren't any longer. But it turned out great!


Thanks for checking out Crafty Mamacita!

Now, take a break and go have yourself some pizza!
I know, graceful, huh? BUT, it's still elegant if you hold your pinky finger out. ;)


I'm linking up to:


giveaways


make it wear it

Funky Junk's Saturday Nite Special

People come'n and goin'

  © Blogger template Shush by Ourblogtemplates.com 2009

Back to TOP