Showing posts with label tutorial. Show all posts

Tuesday, May 25, 2010

Sweetsy Sugar Scrub


Usually when giving a gift I've made, I don't blog about it 'till after I've given it away, but I'm break'n the rules today. We're probably going out of town this weekend, so I figured this time it would be fine. :)

For Mother's Day I made some Sweetsy Sugar Scrub for my Mother and Mother-in-law. Shhh, you won't tell right? We're going to see my Mother-in-law this weekend.

Here's what you'll need:

Pour sugar in mixing bowl

Pour in E.V.O.O. to a good consistency. I used around 1 1/4 - 1 1/2 cup. 
I didn't measure too much, just went with it. Mix really well.


It should look kinda clumpy like this.


This little bottle of scented oil I got at the dollar store. They have several different scents. 
I poured in about 1/3 of the bottle. 
Edit to add: After I made the scrub I was reading the fine little print on the bottle, and it is acually not made for skin use. But I've noted that if I leave the little jars of scrub open they make my room smell so nice! Try using scented oils from Bath & Body that are made for the skin; or vanilla, or lemon juice instread. (I have heard that pure vanilla extract is actually good on sunburns, so that might be best.)


Then I added some drops of red and blue food coloring to make a light lavender color.
I should've used more and made it more purpley, but the stirring was making my arm SO tired!
This was as purple as it was gonna get.

Then scoop into your 2 beautiful Ball Mason Jars (16 oz.)
Maybe add a little ribbon.

Happy belated Mother's Day!


Glass Chore Chart

Today is a beautiful day in sunny Arizona! Despite the wonderful weather outside, I will be inside cleaning because I've put it off for way too long....aaand I'm super forgetful. I estimate that since getting pregnant I've probably lost about 50% of my short term memory, some days it's more like 80%. So, I've determined to get organized!

Being new to this wonderful Wife/Mommy world I've found I need a few things to keep up. I've never really used a planner, never kept a calendar, never had to! I had a great memory! I'll even admit that I used to laugh a little at those Moms that would say "Yeah, hold on, just let me check my appointment book. No, can't do it we've got ballet, soccer, etc." Now I think to myself "Wow, check out how organized those Moms were!"
This is me today: "Yeah, I'll totally be there to that youth activity, and we can use my car to drop off the kids." That day: --------(crickets chirping) no me. 'Cause I forgot again!!! And the next day: Hey I better get to that activity. Umm...that's not today, is it? AAaahhh!
I feel like I have CFS (Chronic Flake Syndrome).

So.... I got a little pocket planner from Wal-Mart and I check it at least 4 or 5 times a day just to see what I'm forgetting. And for my sadly ignored house (aka: apartment) I made this:


I've seen this idea a couple times on blogland, but I don't remember exactly where. It was a plain frame from the dollar store and now it's a dry erase chore board for me! Here's how I made it.


Took one of the plain unpainted wood frames from the dollar store and painted it satin white on my painting pyramids (love those things!).

While that was drying I cut out little strips of some extra fabric I had. They're probably 2.5 x 0.5 inches. I left them frayed and tied a little not in the middle. Now they're cute little rag bows!

Hot glued them in the corners. (I made 8 bows and only used 6) I did put three in the top left corner and one in the rest of the corners. I kinda liked the Wabisabi (something I heard on King of the Hill, not sure if it's real. Haha, love that show!). It means the off-balance, or defect makes it more beautiful.

The is the actual chart, in case you wanted to see what was on there. Yes, I have to put almost everything! The font is "Alice in Wonderland" (from the new movie). The saying at the top is from the Doctrine and Covenants, that is an added section to the Book of Mormon. My favorite book :)

I felt it was still a little plain so I took two strands of matching thread and hot glued them between each of the bows, down the frame. Just to add a little color.

Added some magnet strips to the back, 'cause the kitchen is probably the room I go through the most, so the fridge is a good place for me to be sure and see it everyday.

Voila!

Frame: $1
Fabric Scraps: On hand
 Spray Paint: On hand
Hot Glue: On hand
Thread: On hand
New Dry-Erase Marker (from the looks of it, I really need a new one): $1 (will buy today)

Total: $2
Love it!!!
P.S. - I highly recommend little planners ;)


Linking up to:

Visit thecsiproject.com

Monday, February 1, 2010

Fashion Forward- Cuffs and Collar

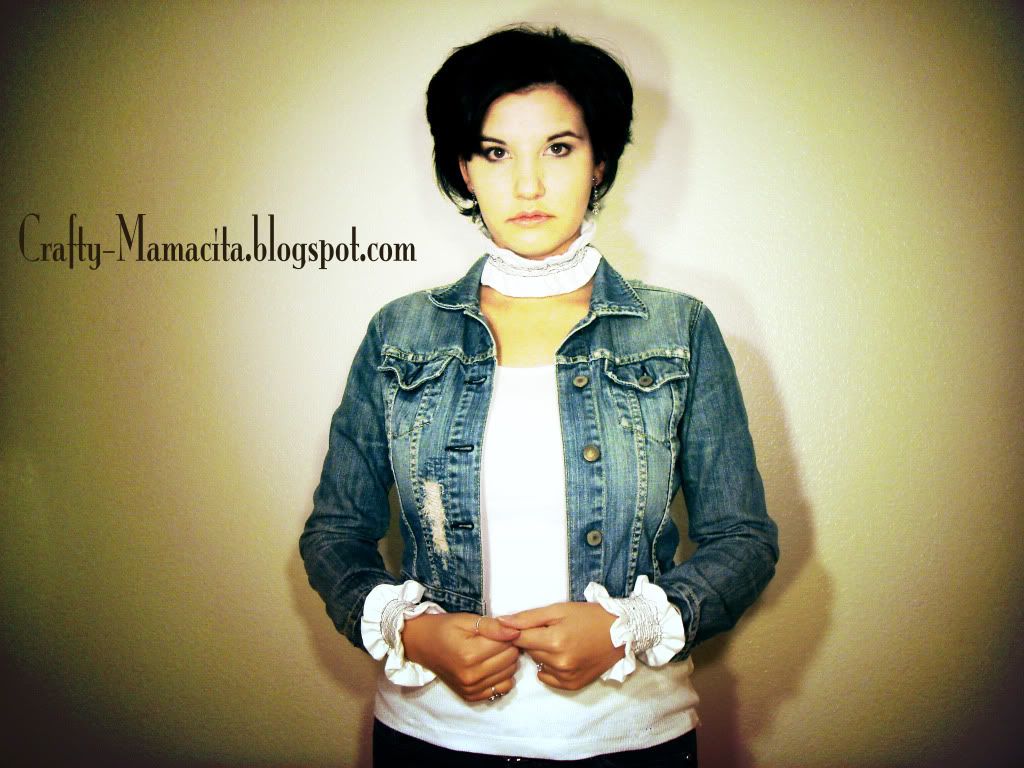
I'm so excited about my first tutorial today. It was inspired by Disney over at Ruffles and Stuff, and the cuffs and collar that she made, but mine are a little different....and maybe a little bit fashion forward. Sounds intense right? But it's really not. So, here we go. 

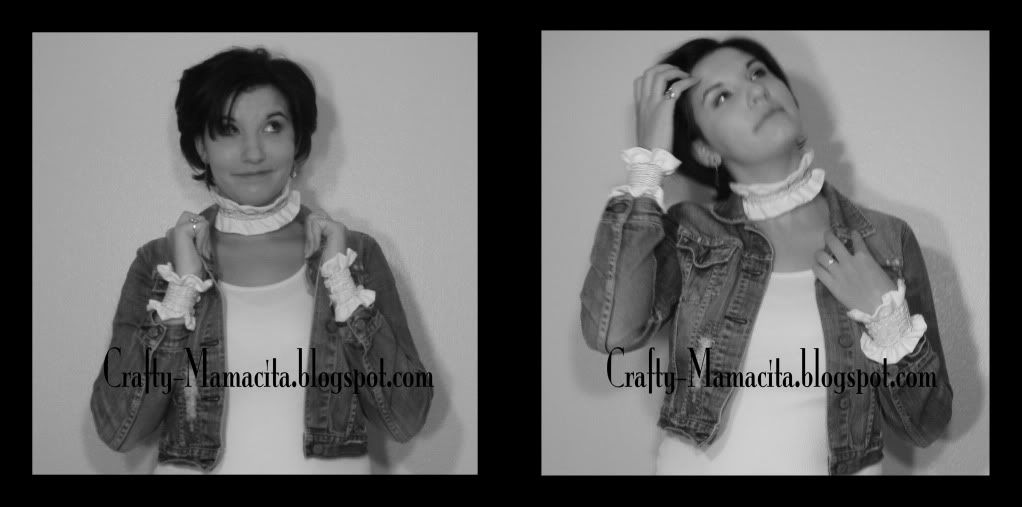
This is how they turned out. You like?
I think I was getting a little too serious during our fun little photo shoot. ;)

To start I took: 
* Scraps of white linen fabric
* 5 white buttons (small)
* White thread, and black thread

Yep, that's it.

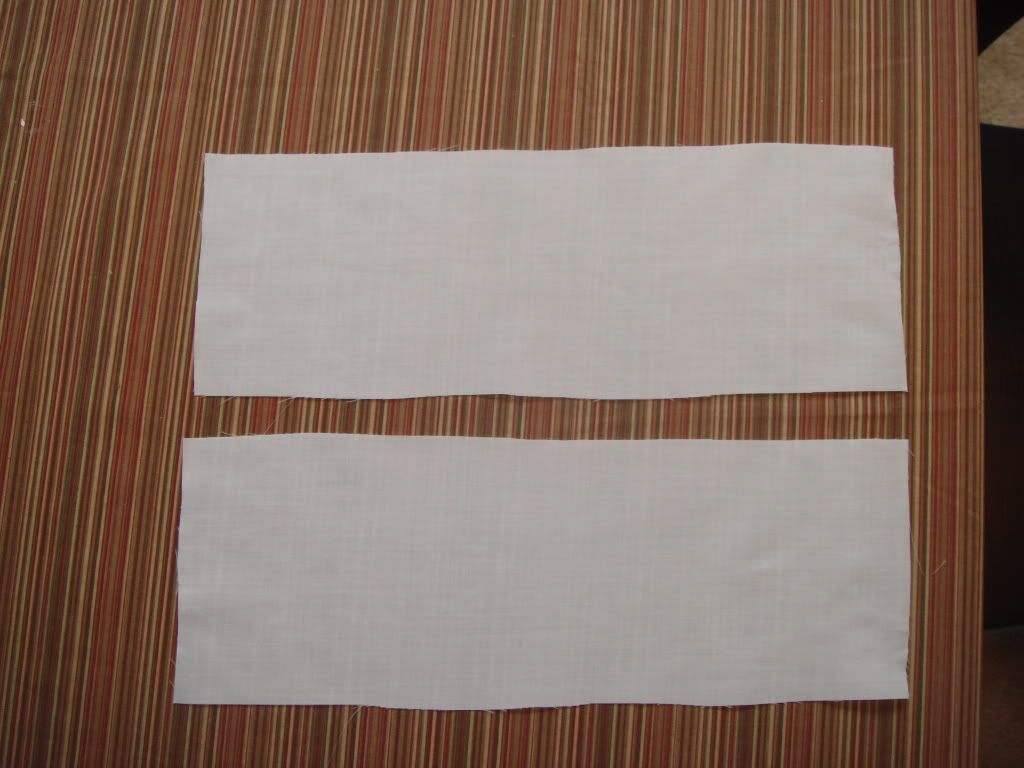
First I cut two pieces that were 4.5'' x 14''
(allowing for 1/2'' seam allowance)
(Two pieces are for one cuff only. You'll actually want 4 pieces total for two cuffs)


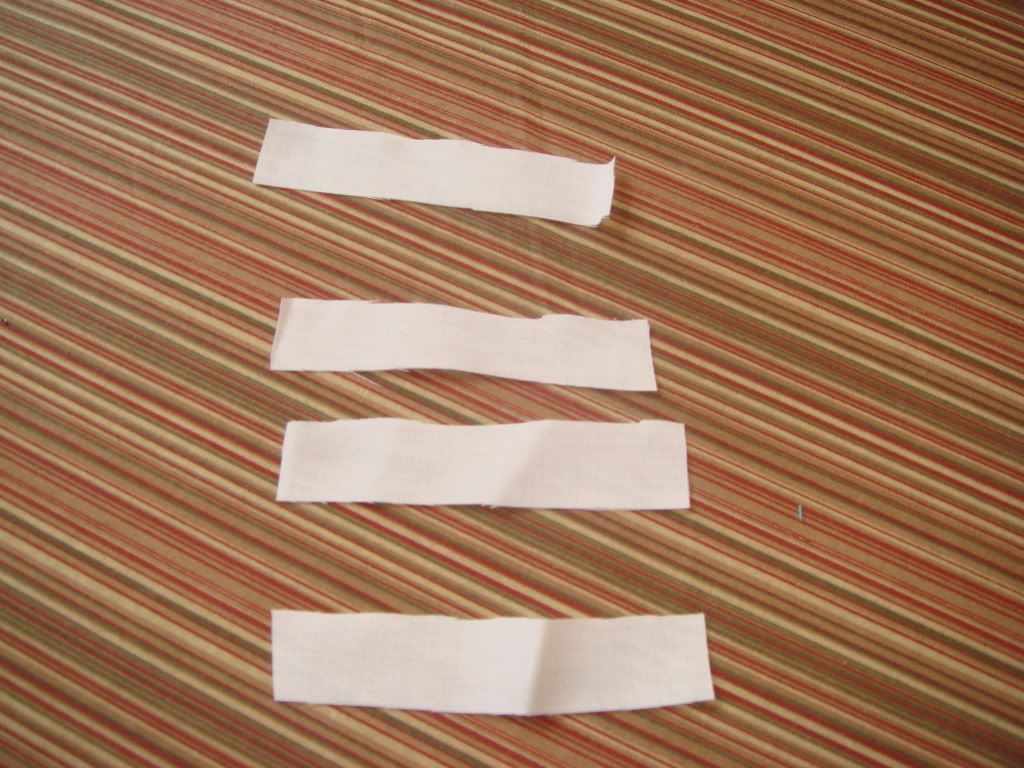
Then I cut 4 strips 2'' x 1/2''
Two strips per cuff, so you need four total, then one more for the collar. 
These will be the loopies for your button to go through.


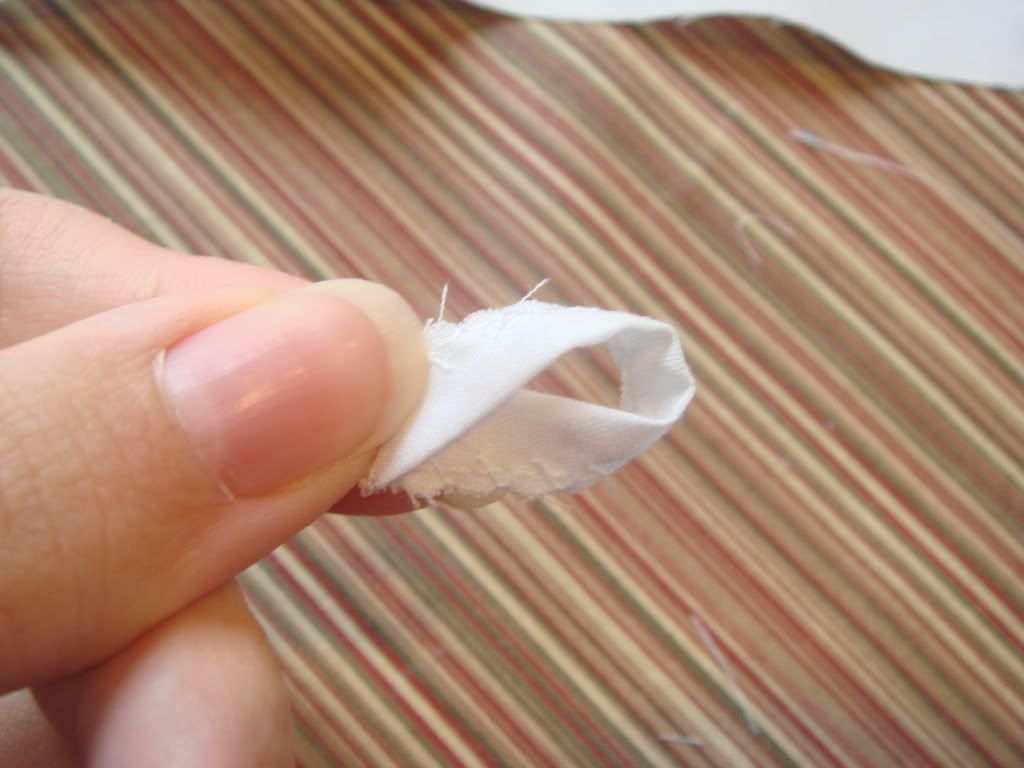
Then I folded each strip in half lengthwise and sewed a straight stitch close to the open edge. 
I went over the edge again with a zigzag stitch.
I left it with the slightly frayed look, 'cause that's what I was going for.


I folded it with the frayed/zigzag side facing out, just like so.
*Side-note: please forgive the horrible tablecloth, we got it when we first got married and we never use it, but it's waterproof so it's now my crafting tablecloth. Joy!*


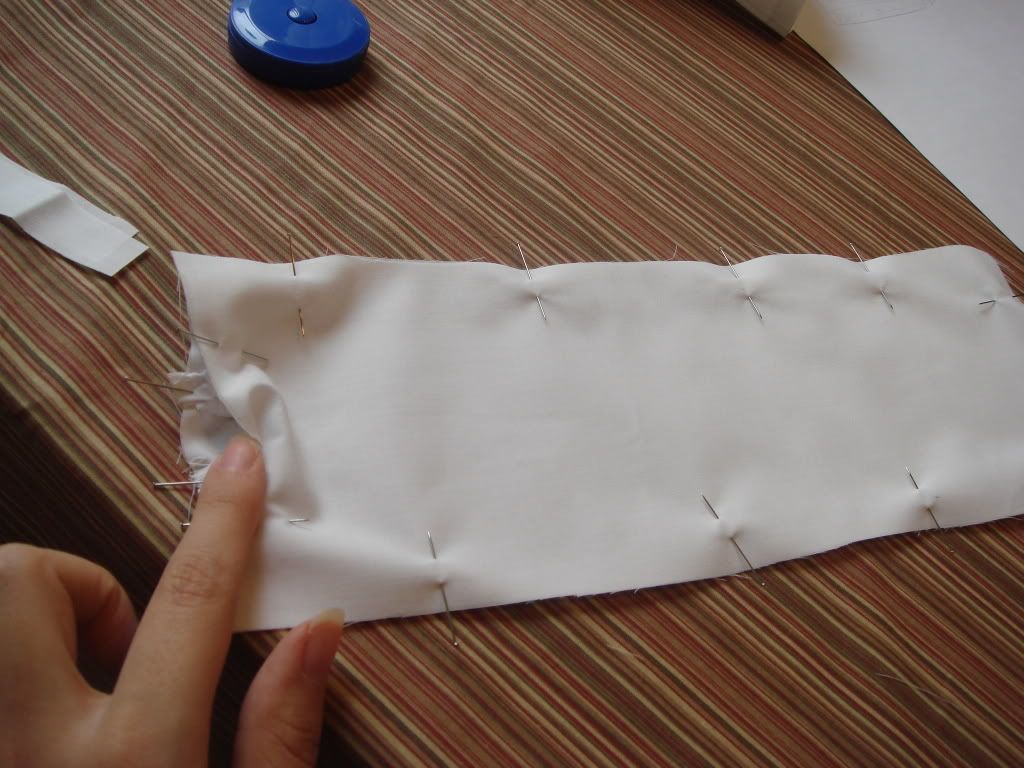
I then pinned my little 'loopies' to the end of the fabric at 1'' down from each long side, facing inward.


I placed the other piece of fabric on top of that one with the 'loopies', and pinned it.


I stitched nearly all the way around, I left a little opening to fold it inside-out...or would it be rightside-out? You know what I mean, right.
Then I hand-stitched the small opening I left open, closed.


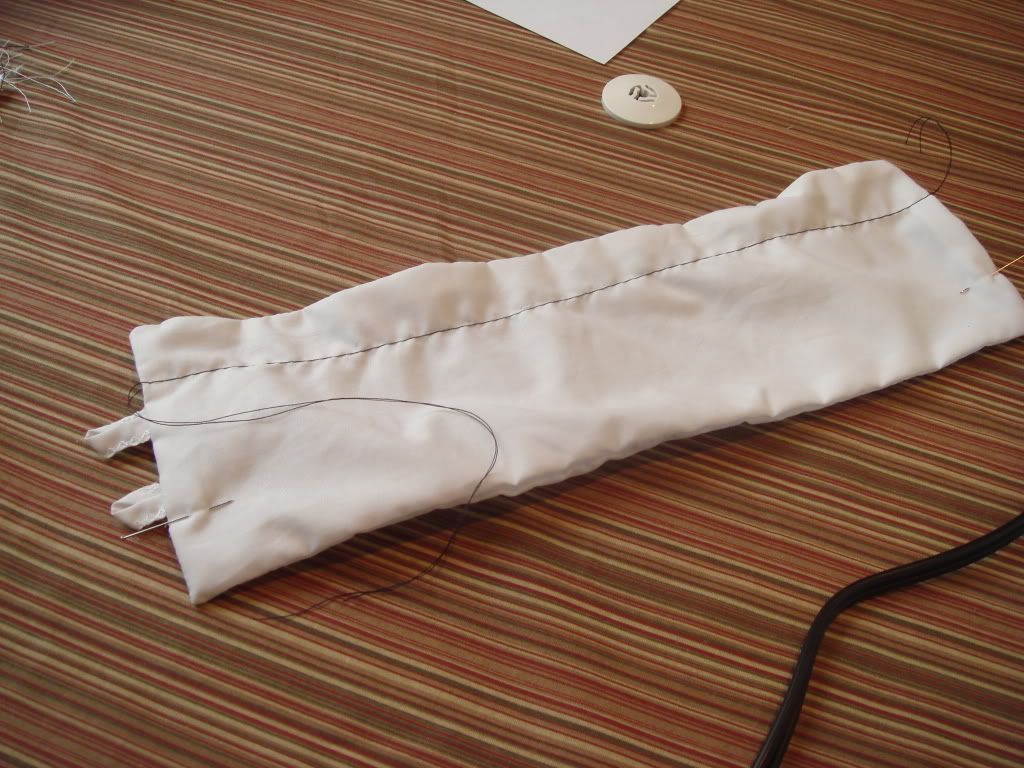
Here's where I switched to my black thread. I loosened the thread tension a little, and took the stitch length all the way up. I sewed a line just above the first 'loopy', at 1'' down.
Then I did the same just below the lower 'loopy', and ruffled it! I kept putting it around my wrist to make sure it wasn't too short. Better too long, then too short. Once it was a good size I tied off my 'ruffle strings' and trimmed 'em.


Here was the fun part for me!
I tried out my 'free motion foot' for the first time! Did I mention this is a new sewing machine? And that I LOVE it?! Singer Quilter's Confidence, in case you're interested.
I tightened the tension a little tighter than the 'Auto' it's normally on. 
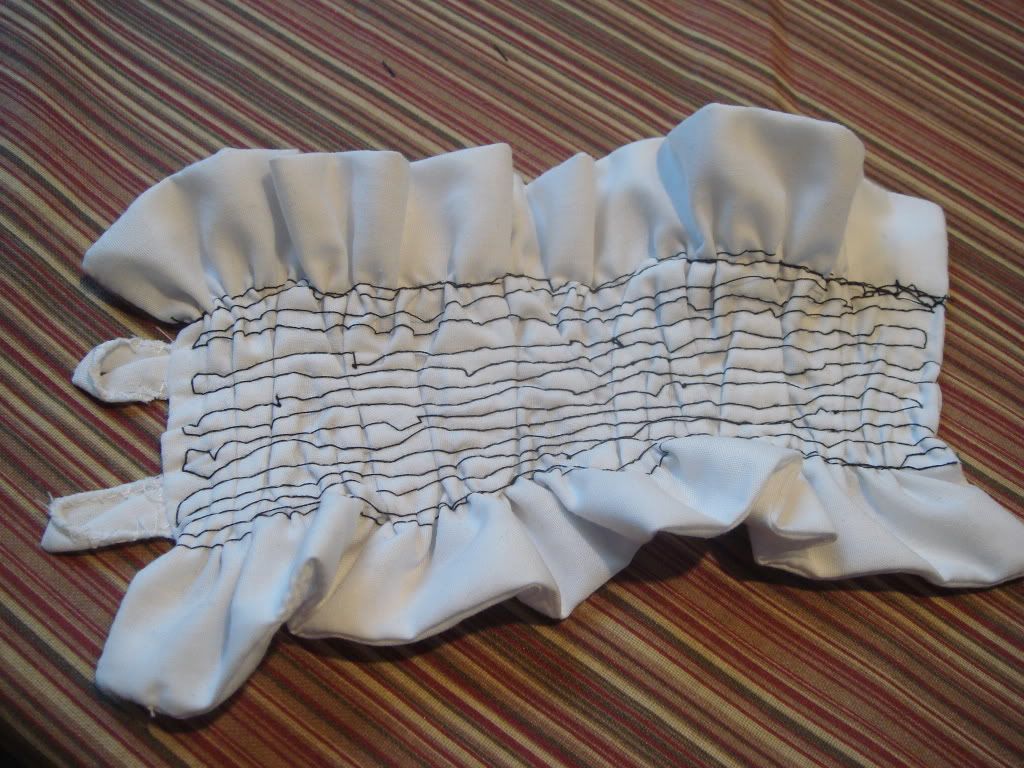
Then I went to work going back in forth (with the black thread still), in a carefree kinda way, with the feed-dog down. I wanted it to have a slightly...umm..what's the word? Rogue-ish look?
You don't have to have this foot to get this look, just use your regular presser foot and pivot at each end.


Here's after going back and forth in my 'free motion fashion'. 
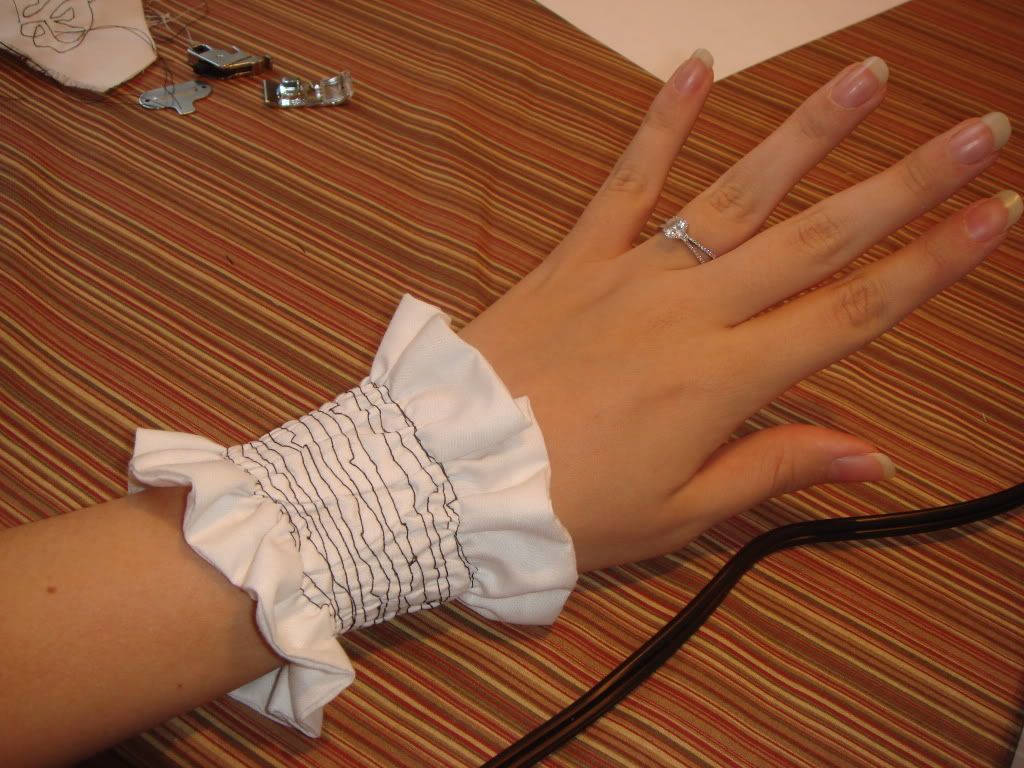
I know it doesn't look like anything super special, but like most great accessories you gotta put them on to get the whole effect, right?
Oh, and add both the buttons to the opposite end of the 'loopies'. If it's too long, just move the buttons back a bit.


Ooooh, I L.O.V.E. IT!


I then proceeded to make the second cuff, and a collar that was 14'' x 3 1/2'' (with 1/4'' seam allowance), with one 'loopy' and one button. Go off your own measurements though if you plan to make any. I have unusually small wrists. And I barely had any ruffle to my collar 'cause my scraps weren't any longer. But it turned out great!


Thanks for checking out Crafty Mamacita!

Now, take a break and go have yourself some pizza!
I know, graceful, huh? BUT, it's still elegant if you hold your pinky finger out. ;)


I'm linking up to:


giveaways


make it wear it

Funky Junk's Saturday Nite Special

People come'n and goin'

  © Blogger template Shush by Ourblogtemplates.com 2009

Back to TOP